
⚡ Quick Answer
TRELLIS 2 turns a single photo into a 3D model inside ComfyUI, with two output options: geometry only (shape, no color, faster) or geometry + texture (full PBR color, slower, more VRAM). It runs through a free custom node package — not ComfyUI core — and the model weights download automatically the first time you run it. Minimum 8 GB VRAM at low resolution; 16 GB+ recommended for full-resolution textured output.
Most image-to-3D tools give you a choice: get the shape fast, or wait longer and get color with it. TRELLIS 2 — Microsoft's 4-billion-parameter 3D generation model — does both inside ComfyUI, through two separate workflows. This guide covers both: a geometry-only workflow that gets you a clean mesh in the fewest steps, and a full geometry-plus-texture workflow that outputs a colored, ready-to-use 3D asset.
Both workflows in this guide were tested using the same example photo — a toy cannon — so you can compare the geometry-only result against the textured one directly.
What You Need
Unlike Hunyuan3D, TRELLIS 2 doesn't use a checkpoint file you download and place manually. Instead, it runs through custom nodes that pull the model weights automatically the first time you generate.
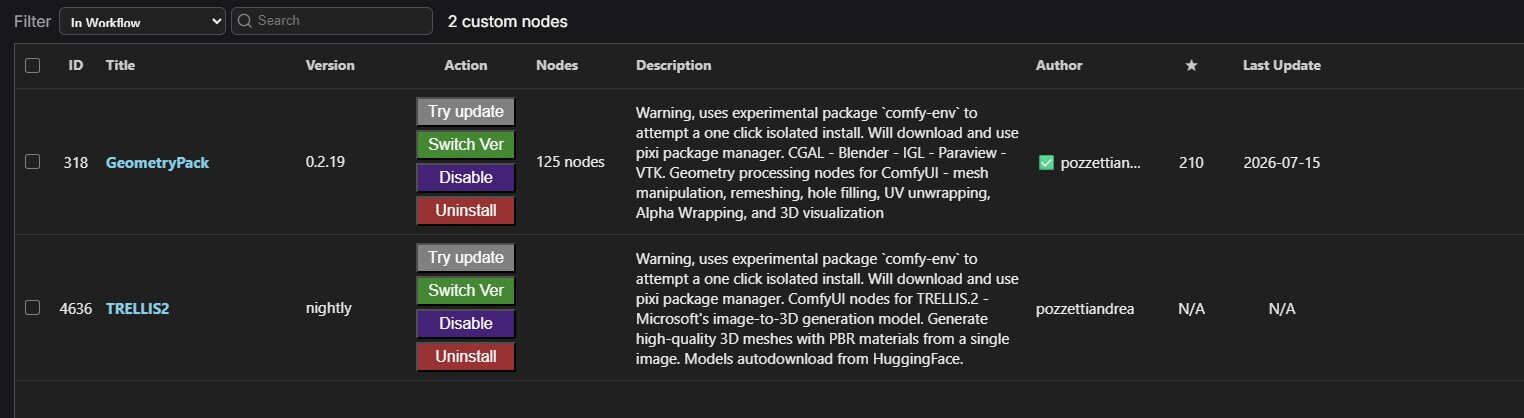
Custom Nodes Needed (both are required for the workflows below)
ComfyUI-TRELLIS2comfyui-geometrypackYou don't need to hunt these down yourself. Once you've loaded a workflow below (drag its JSON onto the canvas), open ComfyUI Manager and click Install Missing Custom Nodes — it scans the loaded workflow and lists exactly what's missing, including both packages above. Select them and install; restart ComfyUI when it's done.
New to checkpoints and custom nodes as concepts? Start with the checkpoint models guide and the ComfyUI installation guide.
Geometry Only vs Geometry + Texture: Which Should You Use?
Geometry only builds the 3D shape and stops there — no color, no material. It's faster and uses less VRAM because it skips an entire generation stage. Use this when you just need the shape: blocking out a scene, checking proportions, or feeding the mesh into a separate texturing pipeline of your own.
Geometry + texture runs a second generation pass that paints full PBR (physically based rendering) materials onto the mesh — the same kind of texture maps game engines and renderers expect. Use this when you want a finished, colored asset you can drop straight into a project.
| Mode | Speed | VRAM | Color | Best For |
|---|---|---|---|---|
Geometry Only | Faster | Lower | No (shape only) | Blocking out scenes, checking proportions, feeding a separate texturing pipeline |
Geometry + Texture | Slower (2 passes) | Higher | Yes (full PBR) | A finished, colored asset ready to drop into a project |
How to Generate a Geometry-Only 3D Model
This workflow takes a photo (background removed) and outputs a mesh with no color — the fastest path from image to 3D shape.
Download Workflow JSON(trellis2-geometry-only.json)- Drag the downloaded workflow JSON onto the ComfyUI canvas (or use Workflow > Open) to load it.
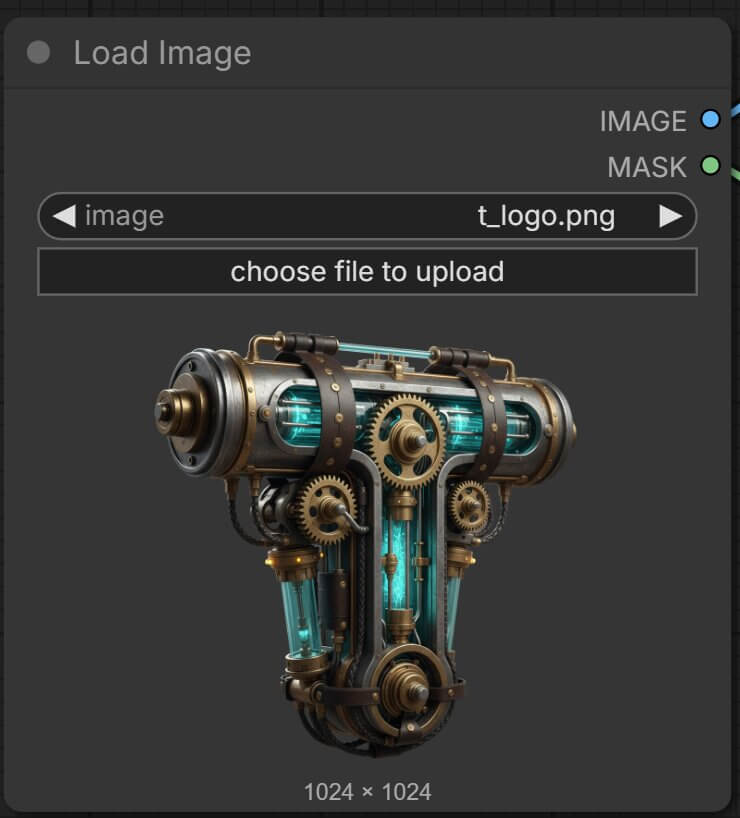
- Click the Load Image node and swap in your own photo — background already removed, saved as a transparent PNG.
- Check the Mask Preview node after your first run. It shows the mask TRELLIS 2 is using to separate your subject from the background — if the whole image or the wrong area is highlighted, your source PNG doesn't have a clean transparent background.
- Click the orange Queue Prompt button. The model downloads automatically on your very first run, so this first generation takes noticeably longer than every one after it.
- The finished mesh appears in the Preview3D node once generation completes, and also saves to
ComfyUI/output/as a.glbfile.
How to Generate a Textured (PBR) 3D Model
This workflow adds a second stage on top of the geometry pipeline: it paints color and material data onto the mesh before exporting.
Download Workflow JSON(trellis2-geometry-texture.json)- Drag the downloaded workflow JSON onto the ComfyUI canvas to load it.
- Swap in your own background-removed photo in the Load Image node, same as the geometry-only workflow.
- Click Queue Prompt. This run takes noticeably longer than geometry-only — it's generating shape and texture in separate passes, then combining them.
- The textured mesh appears in Preview3D and saves to
ComfyUI/output/as a.glb, with full color and material data baked in.
Exporting Your 3D Model to Blender
The Trellis2 Export Trimesh node in both workflows already saves your finished model as a .glb in ComfyUI/output/ — you don't need a separate export step.
- Open Blender, go to File > Import > glTF 2.0 (.glb/.gltf), and select the exported file from your ComfyUI output folder.
- The mesh loads into your scene at its generated scale, with textures already attached if you used the geometry+texture workflow.
filename_prefix widget — it defaults to trellis2, so look for a file starting with that name in your output folder.TRELLIS 2 vs Hunyuan3D 2.1 — Which Should You Use?
Both are free, both run locally, and both turn a single photo into a 3D model. The real difference is texture and setup:
| Tool | Texture | Setup | Angles |
|---|---|---|---|
TRELLIS 2 | Separate texture pass | Community custom nodes, auto-downloaded weights | Single image |
Hunyuan3D 2.1 | Included in one pass | ComfyUI core nodes, manual checkpoint file | Single image (or 4-photo multi-view) |
Hunyuan3D has a dedicated multi-view workflow that takes four photos of the same object for a more accurate result — the TRELLIS 2 workflows in this guide use a single image. If you've already got Hunyuan3D running from our other guide, TRELLIS 2 is worth adding for its texture quality — not replacing it.
Troubleshooting
"This node type does not exist" (red node in workflow)
Both workflows need two separate custom node packages, and a red node means one is missing.
- Open ComfyUI Manager from the top menu.
- Click Install Missing Custom Nodes. Confirm both ComfyUI-TRELLIS2 and comfyui-geometrypack are listed and installed.
- Restart ComfyUI completely and reload the workflow.
Generation is stuck on the first run
TRELLIS 2's model weights download automatically the first time you queue a generation — several gigabytes, depending on your connection.
- Check the ComfyUI console window (the terminal it's running in) for download progress or errors.
- Confirm your internet connection is stable — a dropped connection mid-download can leave a partial file that fails silently on the next run.
- If it's genuinely stuck rather than downloading, restart ComfyUI and queue again.
The output mesh includes the background, or is missing the subject
Neither workflow removes the background from your photo automatically — this is almost always an input problem, not a settings problem.
- Confirm your source image is a transparent PNG with the background already removed, not a photo with a solid background still attached.
- Check the Mask Preview node's output after a run — it should clearly outline your subject, not the whole frame.
- If the mask looks inverted (background highlighted instead of the subject), double check the Invert Mask node is still connected the same way as the downloaded workflow.
Frequently Asked Questions
What to Do Next
Run geometry-only first, then move to geometry + texture.
Confirm your custom nodes and models are set up correctly with the faster, lighter workflow first. Once that works, move to the textured workflow for a finished, colored result. For a structured path through the rest of ComfyUI's 3D and image tools, see the full roadmap.
Published: 2026-08-01 · Last updated: 2026-08-01 · Workflow structure verified against the ComfyUI-TRELLIS2 node graphs.
Join the discussion
Sign in to leave a comment or reply
No comments yet
Be the first to share your thoughts!