
Introduction
Curious about creating AI images with ComfyUI? In this beginner-friendly guide, you will learn how to set up ComfyUI, load an image generation workflow, understand what each node does, write your first prompts, and generate your first AI image. Follow these step-by-step instructions to start creating AI art quickly.
Step 1: Install ComfyUI and Basic Setup
Before starting, make sure ComfyUI is installed on your computer. If it isn't yet, follow the full installation guide first — then come back here.
Step 2: Load an Image Generation Workflow
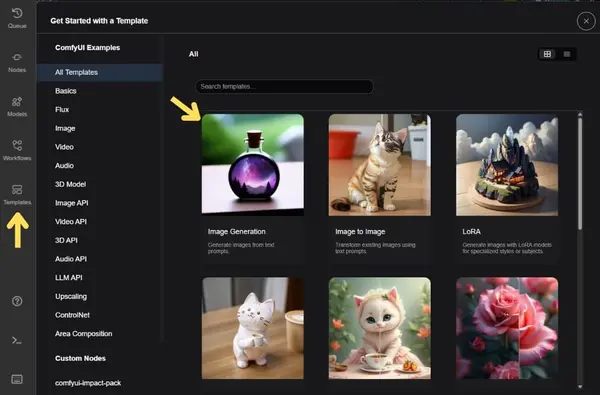
ComfyUI uses workflows — visual graphs of connected nodes — to generate images. The easiest way to get started is by loading the built-in template.
Click Templates in the sidebar
Open the ComfyUI sidebar and click on the "Templates" option.
Open the Image Generation template
Select the Image Generations template. This loads a basic workflow with all the nodes you need to start generating.
If a message appears saying models are missing, click the option to download models. ComfyUI will handle the download automatically.
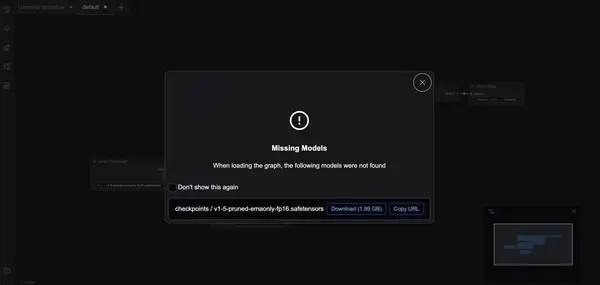
If the automatic download does not work, download the model manually from Hugging Face and place it in this folder:
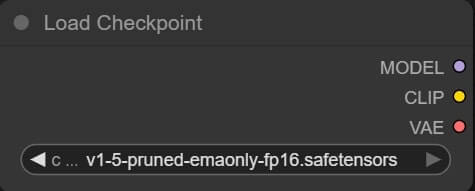
ComfyUI_windows_portable\ComfyUI\models\checkpointsAfter placing the file, refresh your browser. Then in the Load Checkpoint node, select v1-5-pruned-emaonly-fp16 from the dropdown.
Step 3: Understanding Key Workflow Nodes
ComfyUI workflows use different nodes to handle the image creation process. Here is what each one does, explained simply for beginners:
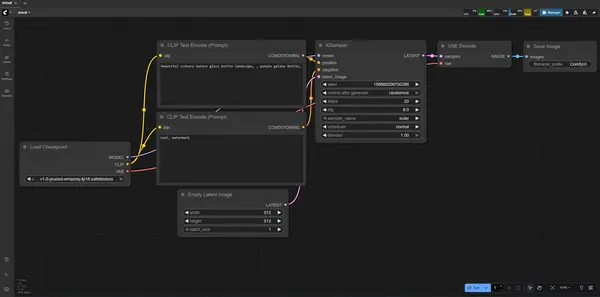
Load Checkpoint Node
- Loads the AI model used for image generation (such as Stable Diffusion).
- The selected checkpoint determines the overall style and capability of your outputs.
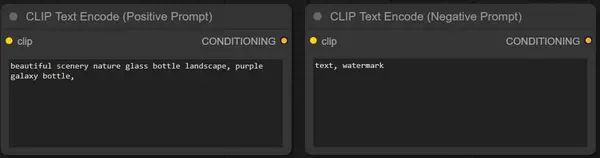
CLIP Text Encoder (Prompt Nodes)
- Positive prompt — describe what you want to see in the image.
- Negative prompt — describe what you want to exclude (e.g. blurry, watermark, bad anatomy).
- There are two separate CLIP Text Encoder nodes — one for each.
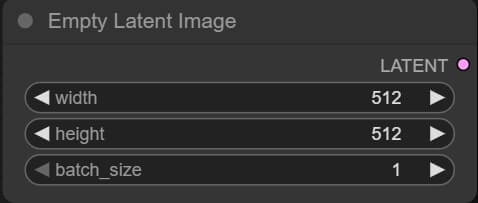
Empty Latent Image Node
- Sets the output image dimensions (width and height in pixels).
- Also sets the batch size — how many images to generate at once.
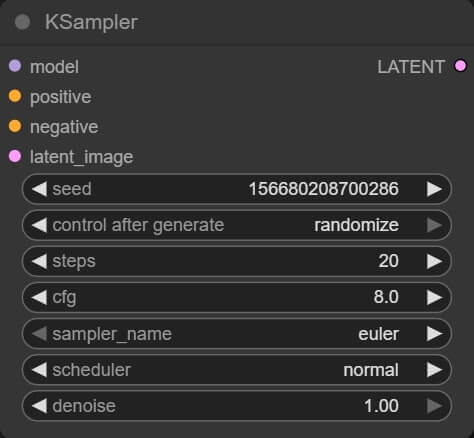
KSampler Node
The KSampler is the core engine — it takes your prompts and model and generates an image from random noise. These are the key settings to know:
| Setting | What it does | Beginner value |
|---|---|---|
Seed | Controls image randomness. Same seed = same image. | Any number |
Steps | More steps = more detail, but slower generation. | 30 |
CFG Scale | How closely the image follows your prompt. Higher = more literal. | 7 |
Sampler Name | The algorithm used to reduce noise step by step. | euler |
Scheduler | Controls how step size changes during sampling. | normal |
Denoise | How much the image changes from its initial noise. 1.0 = full generation from scratch. | 1.0 |
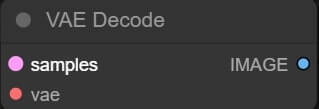
VAE Decode Node
- Converts the model's internal latent representation into a viewable image.
- Without this node, you would only have raw latent data — not a real picture.
Save Image Node
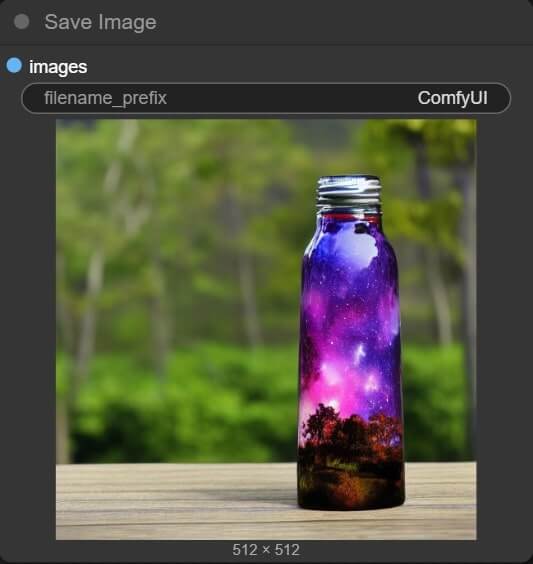
- Saves your final generated image to disk.
- Default save location: ComfyUI_windows_portable/ComfyUI/output
- Edit the filename_prefix to change the subfolder. For example, setting it to images/ComfyUI saves to the output/images/ subfolder.
Step 4: Write Your First Prompts
Now it is time to generate your first AI image. Fill in the positive and negative prompt fields in the CLIP Text Encoder nodes. Here are five ready-to-use prompt examples across different styles — click Copy to paste them directly into ComfyUI.
Realistic Portrait Photography
Positive Prompt
portrait of a confident older woman with silver hair, sitting near a window, soft daylight on her face, shallow depth of field, realistic skin texture, detailed eyes, elegant style, 85mm lens, high quality photo
Negative Prompt
blurry, low quality, bad anatomy, deformed face, extra fingers, out of focus, watermark, text, logo, jpeg artifacts

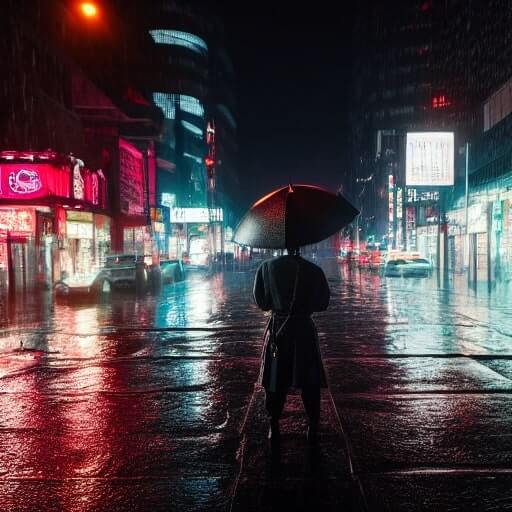
Cinematic Action Scene
Positive Prompt
a lone samurai standing in the rain at night, cinematic lighting, dramatic shadows, neon reflections on wet streets, detailed armor, ultra-realistic, 8k masterpiece, moody atmosphere, movie still
Negative Prompt
lowres, cartoon, flat lighting, unrealistic proportions, bad hands, duplicate body, blurry, watermark, text
Fantasy Illustration
Positive Prompt
a majestic dragon flying over a glowing forest, fantasy art, highly detailed, vivid colors, volumetric light rays, concept art style, trending on ArtStation, digital painting
Negative Prompt
blurry, dull colors, low detail, cropped, out of frame, watermark, bad anatomy, extra limbs, distorted wings

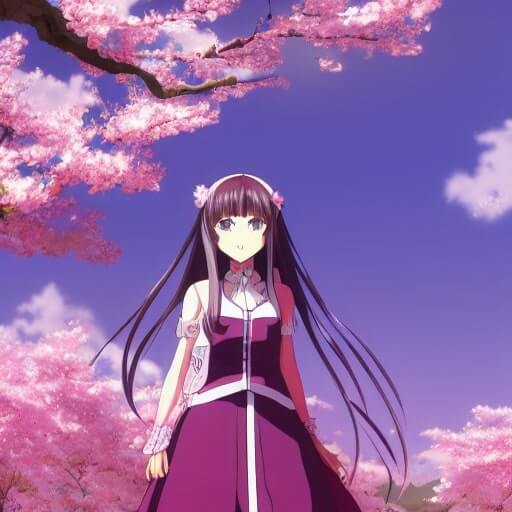
Anime Style Character
Positive Prompt
anime girl with long silver hair and blue eyes, standing in a cherry blossom field, soft lighting, vibrant colors, highly detailed, beautiful background, anime key visual, studio-quality
Negative Prompt
realistic photo, blurry, lowres, deformed, bad anatomy, extra fingers, watermark, text, low detail
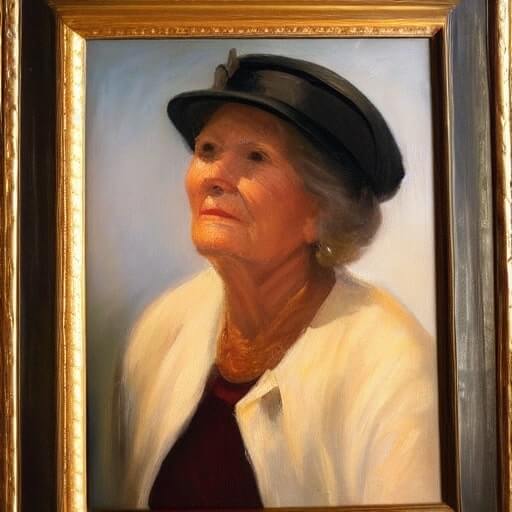
Artistic Oil Painting
Positive Prompt
oil painting of an older woman wearing a vintage hat, warm tones, impressionist style, soft brush strokes, beautiful lighting, fine art masterpiece, hanging in an art gallery
Negative Prompt
blurry, digital art, pixelated, oversaturated, text, watermark, bad proportions, sketch, unfinished, messy
Step 5: Run the Workflow
After entering your prompts and checking your settings, you are ready to generate:
Click "Queue Prompt" to start the workflow
Find the Queue Prompt button at the top of the ComfyUI interface and click it. The workflow will begin processing.
Watch the progress bar
ComfyUI will show a progress bar as it processes each step. Generation time depends on your GPU and the Steps setting.
Find your saved image
Once complete, your image is saved to the output folder. You can also see it previewed directly in the Save Image node.
ComfyUI_windows_portable\ComfyUI\outputFrequently Asked Questions
Conclusion
Starting with ComfyUI is straightforward once you understand the basics. You now know how to load a workflow, what each node does, how to write positive and negative prompts, and how to run your first generation. Use these foundations to experiment with different prompts, checkpoints, and settings.
Once you are comfortable with text-to-image, the next step is exploring LoRA models to control your image style and character consistency — or trying image-to-image workflows to transform existing images.
Join the discussion
Sign in to leave a comment or reply
No comments yet
Be the first to share your thoughts!