

Desktop App Install (Easy — Recommended for Apple Silicon)
The official ComfyUI Desktop app is the fastest way to get started on an Apple Silicon Mac (M1, M2, M3, M4). It handles Python, PyTorch, and all dependencies automatically — no Terminal required.
What you need
- A Mac with Apple Silicon (M1, M2, M3, or M4).
- The Desktop app does not support Intel Macs — use the manual install instead.
Step-by-step installation
Download the Desktop app
Go to comfy.org/download and download the Mac Desktop (.dmg) file.

Install the app
Open the downloaded .dmg file. Drag ComfyUI to the Applications folder.
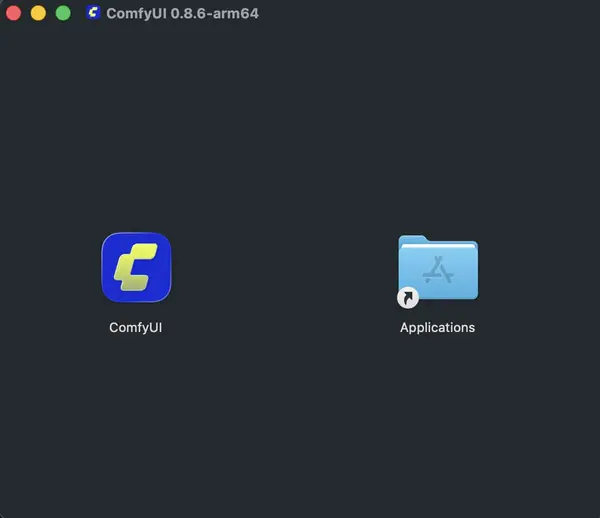
Open ComfyUI
Open ComfyUI from your Applications folder (Spotlight search works too). Click "Get started" on the welcome screen.
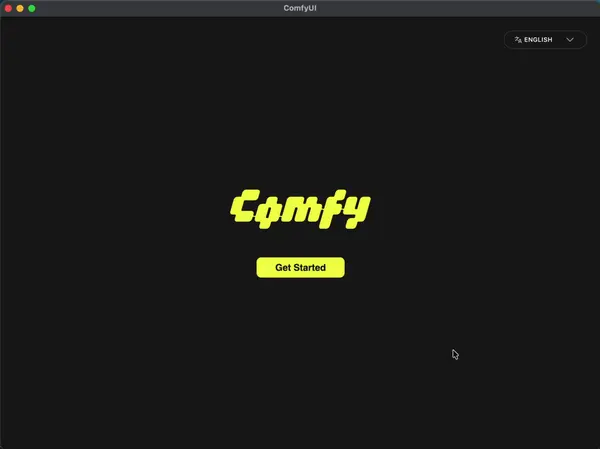
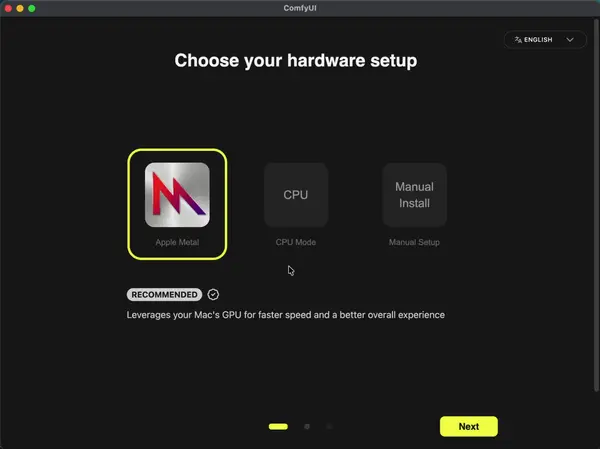
Select Apple Metal
Choose the Apple Metal option. This enables GPU acceleration on your Mac. Click Next.
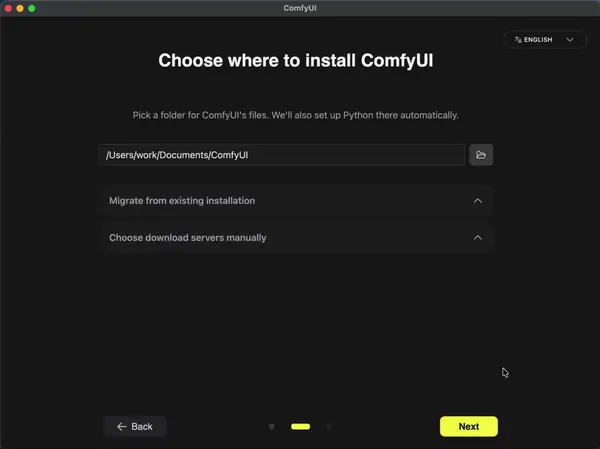
Choose install location
Pick where to install ComfyUI. The default location is fine for most users. Click Next.
Optional settings
Enable automatic updates if you want. Usage metrics are optional. Click Next.
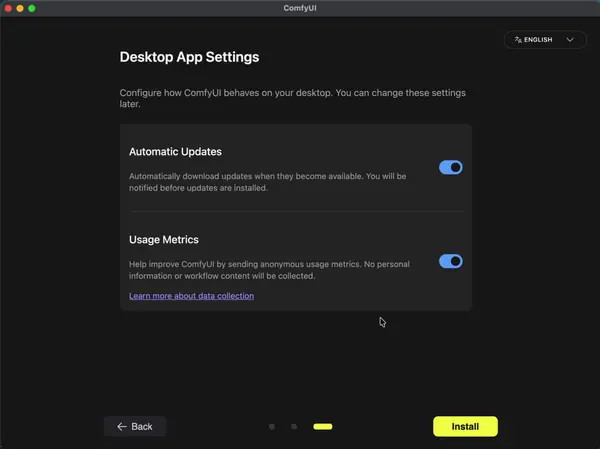
Click Install and wait
Click Install. The app will download and install all required components. This may take a few minutes. The app will open automatically when done.
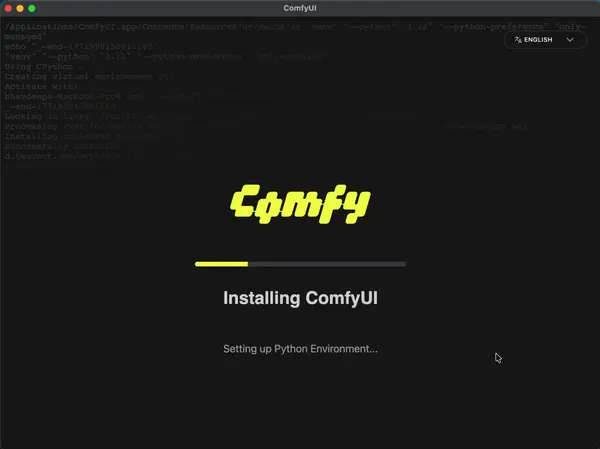
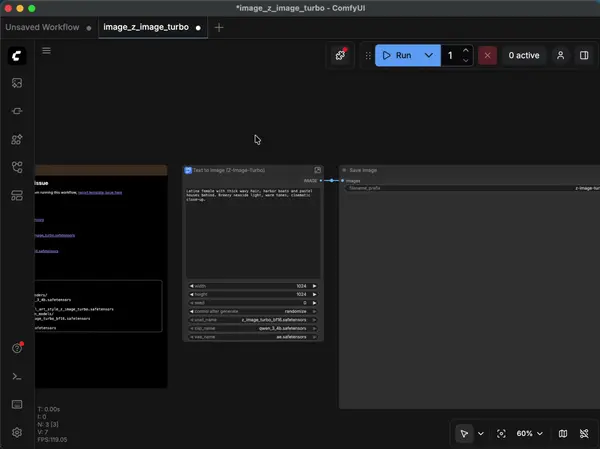
Start generating images
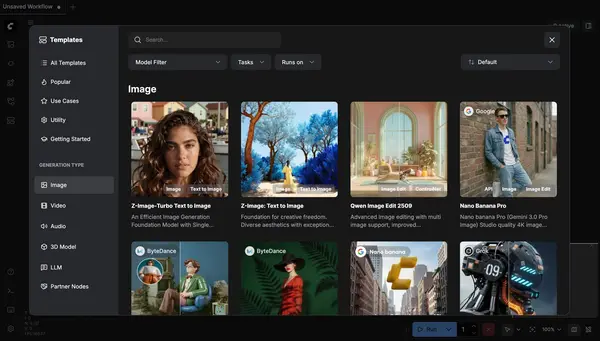
Choose a template like "image generate" from the template picker and start making images.
Video walkthrough
Prefer to watch? The full Desktop app installation is shown step by step in this video:
Manual Install via GitHub (More Control)
The manual install gives you full control over Python version, environment, and ComfyUI configuration. Use this method if you want custom setups, are on an Intel Mac, or prefer the command line.
Prerequisites
- Homebrew (brew) — Mac package manager
- Git — for cloning the repository
- Python 3.10–3.12 (this guide uses Python 3.12)
- Miniconda or Python venv for environment management (Miniconda gives better Apple Silicon PyTorch support)
Step 1 — Install Homebrew and Git
First, check if Homebrew is already installed:
brew --versionIf Homebrew is not installed, run:
/bin/bash -c "$(curl -fsSL https://raw.githubusercontent.com/Homebrew/install/HEAD/install.sh)"Then add Homebrew to your PATH (required on Apple Silicon):
eval "$(/opt/homebrew/bin/brew shellenv)"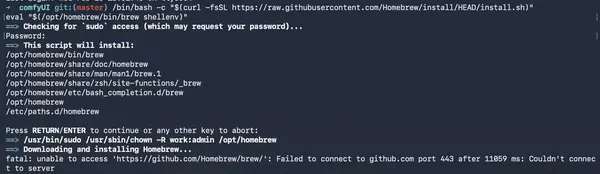
Check if Git is installed:
git --versionIf Git is missing:
brew install git
Step 2 — Clone ComfyUI
Navigate to the folder where you want ComfyUI installed, then clone the repository:
git clone https://github.com/Comfy-Org/ComfyUI.git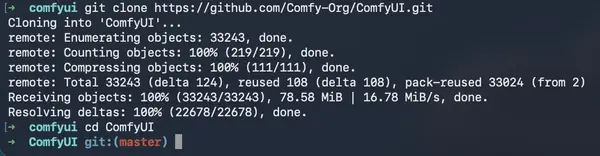
Enter the project folder:
cd ComfyUIStep 3 — Install Python and Set Up an Environment
You have two options: Option A uses Python venv and pip (simpler), Option B uses Miniconda (recommended for Apple Silicon PyTorch support). See Apple's PyTorch Metal guide for additional reference.
Option A — Python venv + pip
Install Python 3.12 if not already available:
brew install python@3.12Create and activate a virtual environment inside the ComfyUI folder:
python3.12 -m venv comfyuienv
source comfyuienv/bin/activateInstall PyTorch with Apple Metal support:
pip install --pre torch torchvision torchaudio --extra-index-url https://download.pytorch.org/whl/nightly/cpu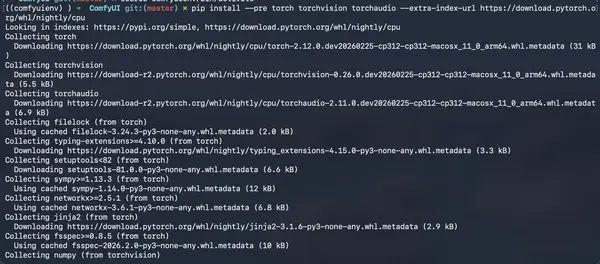
Option B — Miniconda (Recommended for Apple Silicon)
Download and run the Miniconda installer for Apple Silicon:
curl -O https://repo.anaconda.com/miniconda/Miniconda3-latest-MacOSX-arm64.shsh Miniconda3-latest-MacOSX-arm64.shFollow the installer prompts, then restart your terminal or run source ~/.zshrc.
Create a conda environment and install PyTorch with Metal support:
conda create -n comfy python=3.12conda activate comfyconda install pytorch torchvision torchaudio -c pytorch-nightlyStep 4 — Install Requirements and Run
From the ComfyUI folder (with your venv or conda environment active), install all dependencies:
pip install -r requirements.txt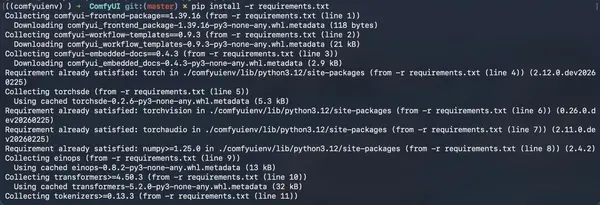
Then start the ComfyUI server:
python main.py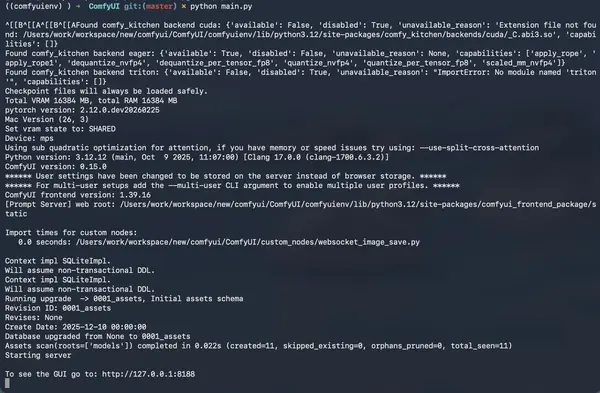
Open your browser and go to: http://127.0.0.1:8188
--force-fp16 after python main.py if you encounter memory issues on lower-RAM Apple Silicon Macs.Common Problems and Fixes
If something goes wrong during the manual install, one of these is almost always the cause:
Port 8188 already in use
Fix: Another application is already using port 8188. Find and stop it, or start ComfyUI on a different port with: python main.py --port 8189
"torch" import errors on startup
Fix: Your PyTorch build does not match your Python version or CPU architecture. Make sure you installed a PyTorch build compiled for arm64 (Apple Silicon) — not the x86 Intel build.
Permission errors when installing packages
Fix: Run your commands inside a folder you own. Avoid /root or system directories. If using pip, make sure your venv or conda environment is active before running pip install.
Strange crashes or unexpected errors
Fix: Delete your venv or conda environment and recreate it from scratch. A clean environment resolves most dependency conflicts. Remove the venv folder and run the setup commands again.
Desktop app blocked by macOS Gatekeeper
Fix: Go to System Settings → Privacy & Security. Scroll down and click 'Open Anyway' next to the ComfyUI entry. This is a standard macOS security prompt for apps not from the App Store.
Troubleshooting Checklist
Run through this checklist before searching for help:
Homebrew missing
Install it and run: eval "$(/opt/homebrew/bin/brew shellenv)"
Git missing
Run: brew install git
Wrong Python version
Install Python 3.12 via Homebrew or use a conda environment
ComfyUI server not showing in browser
Check terminal output from python main.py for startup errors
Desktop app blocked by macOS
Open System Settings → Privacy & Security → click "Open Anyway"
Slow generation / no GPU acceleration
Confirm you selected Apple Metal during setup. Reinstall PyTorch for arm64 if needed.
Missing custom nodes after install
Install ComfyUI Manager to browse and install nodes from within the interface
Frequently Asked Questions
Join the discussion
Sign in to leave a comment or reply
No comments yet
Be the first to share your thoughts!