
How to Install Stable Diffusion with Automatic1111 on Windows
This guide walks you through installing Stable Diffusion using the Automatic1111 web UI on a Windows PC with an Nvidia GPU. By the end, you will have a fully working local AI image generation setup — with no monthly fees and no usage limits.
Automatic1111 is the most popular Stable Diffusion interface for Windows. It provides a browser-based UI, supports thousands of community models, and has an extensive extension ecosystem.
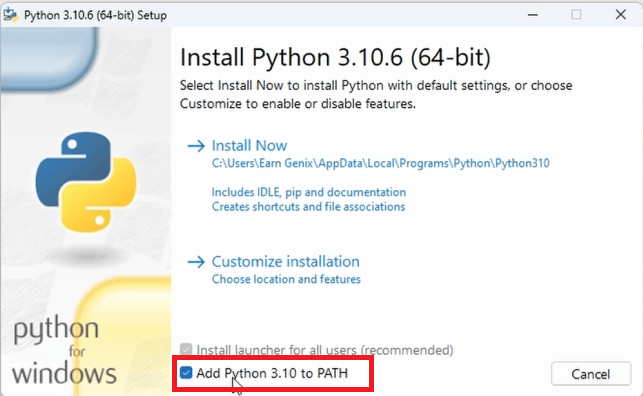
Step 1: Download and Install Python 3.10
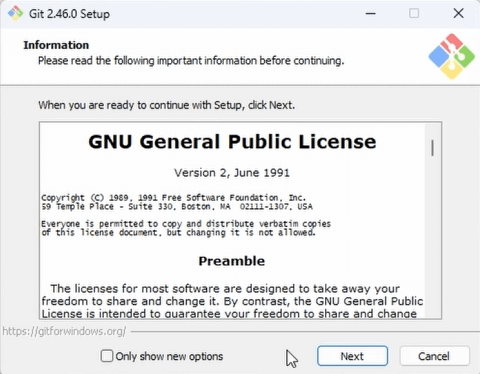
Step 2: Download and Install Git
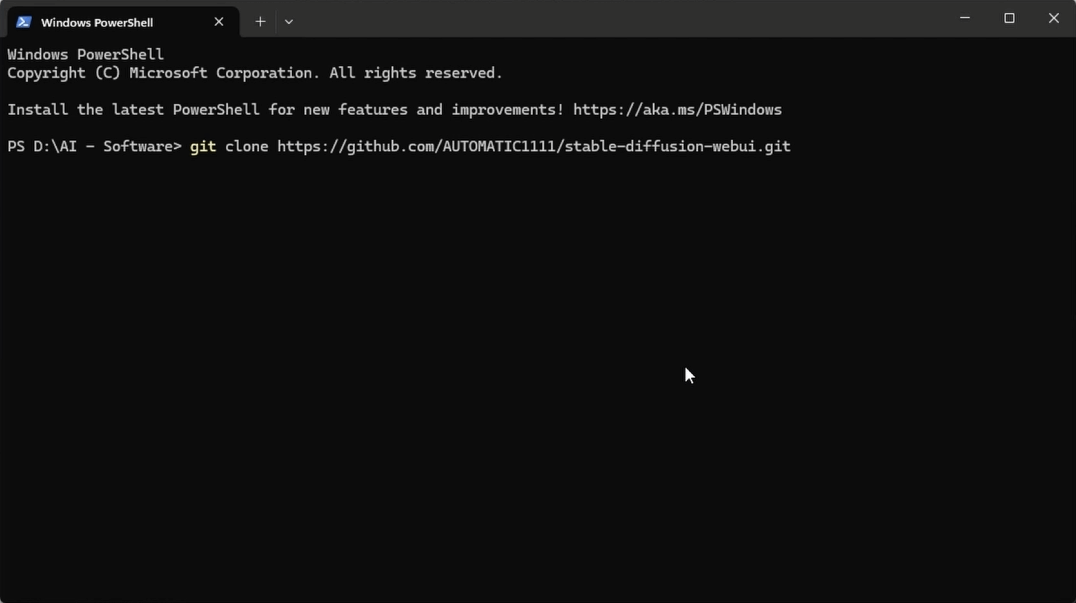
Step 3: Clone the Automatic1111 Repository
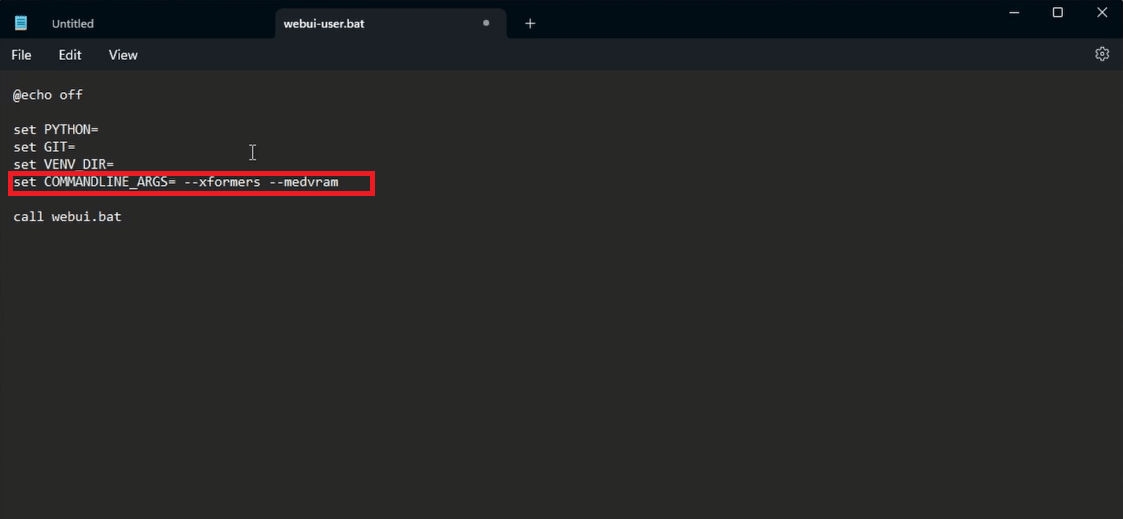
Step 4: Set Up and Optimize the Web UI
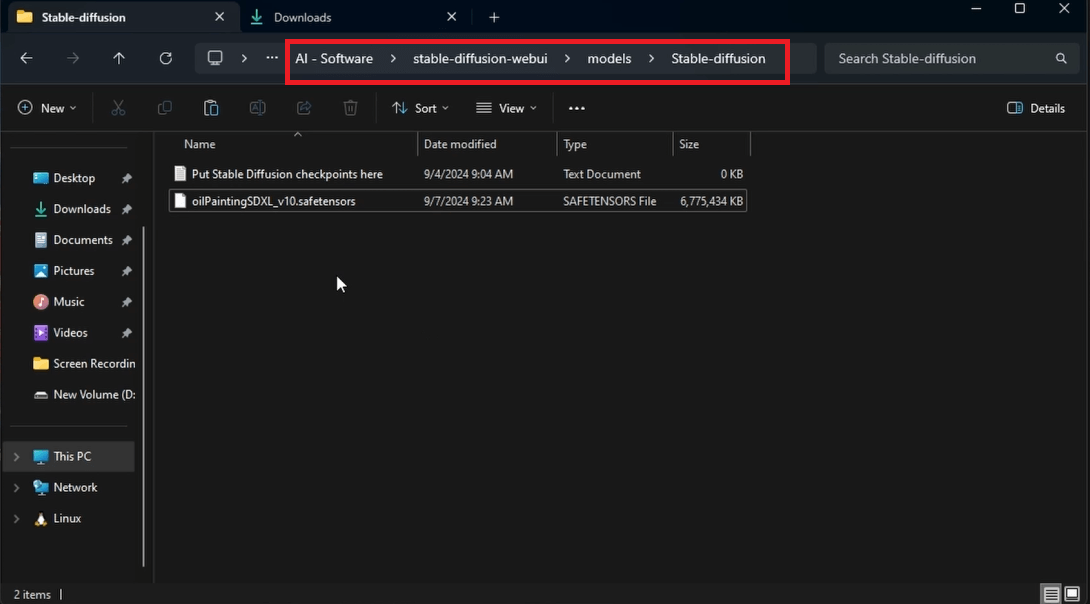
Step 5: Download a Stable Diffusion Model
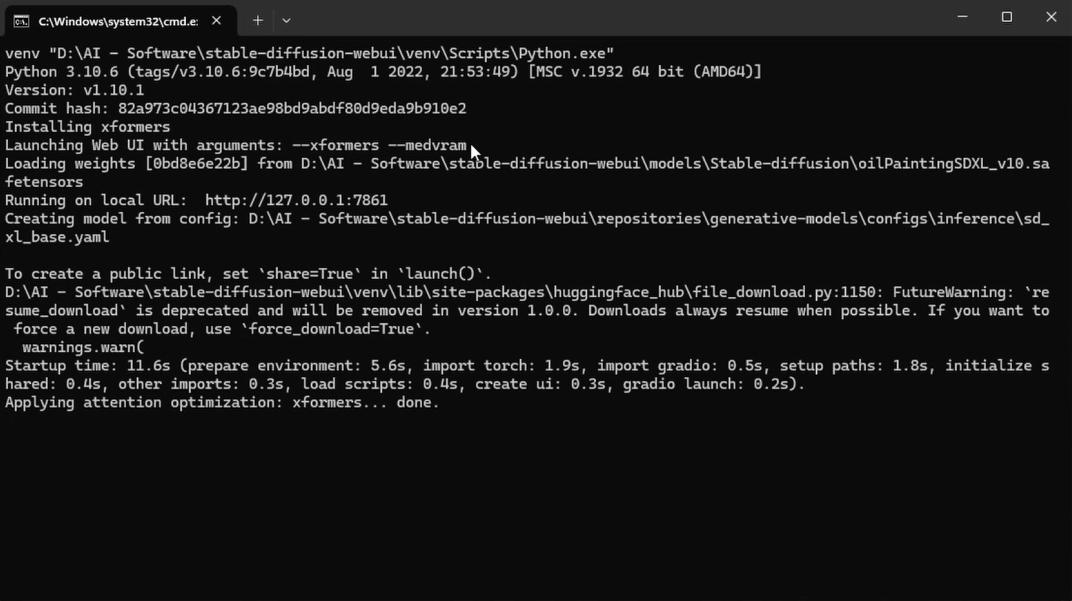
Step 6: Run the Web UI
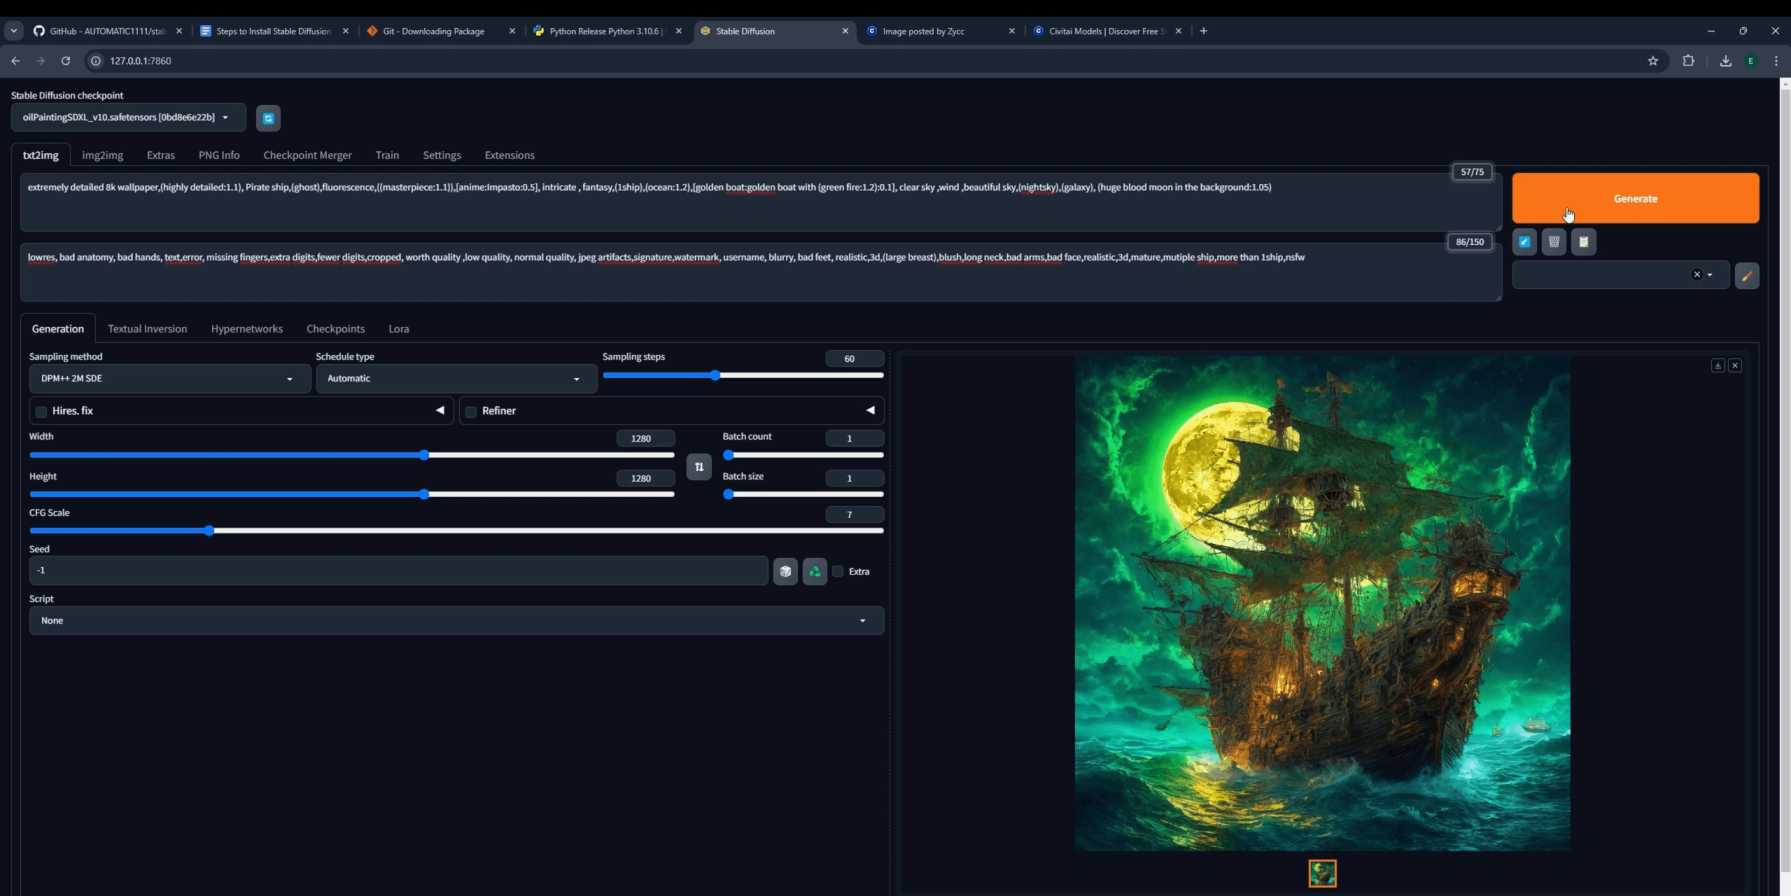
Step 7: Generate Your First AI Image
Final Tips
Congratulations — you now have Stable Diffusion with Automatic1111 running locally on your Windows PC. Here are a few things worth knowing as you start exploring:
🔄 Keeping Automatic1111 Updated
To update to the latest version, open a terminal inside your stable-diffusion-webui folder and run:
git pullThis fetches the latest improvements and bug fixes from the GitHub repository.
Frequently Asked Questions
Join the discussion
Sign in to leave a comment or reply
No comments yet
Be the first to share your thoughts!