
Introduction
If you've ever wanted to create an AI character that looks the same in every image, Nano Banana makes it easy. In this guide, you'll learn how to use the Nano Banana ComfyUI workflow to design consistent characters, edit them with precision, and even turn them into cinematic videos using WAN 2.2. By the end, you'll know how to create, refine, and animate your own AI characters from start to finish.
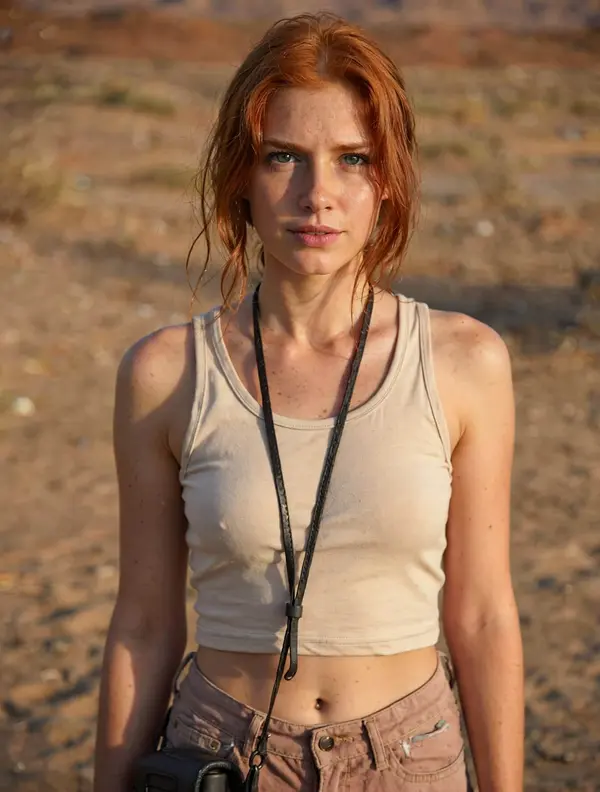
Here's an example — a cinematic video created using just one reference image with Nano Banana, showing consistent character appearance across every frame, animated with WAN 2.2:
Reference image used
Generated cinematic video
What is Nano Banana?
Nano Banana is an AI image generation and editing model that runs via the Google Gemini API. It's designed specifically for consistent character generation — letting you change styles, outfits, backgrounds, poses, and expressions while keeping your character's core appearance the same across every image.
This makes it particularly useful for anyone building characters for comics, animation, digital storytelling, social media content, or AI video workflows. Unlike standard image generation where each output looks different, Nano Banana treats your reference image as a persistent identity anchor.
Consistent identity
Same face, hair, and features across every generation — regardless of pose or setting.
Prompt-based edits
Add, remove, or change elements with simple text instructions.
Multi-reference blending
Combine 2–3 reference images to create complex, consistent composite characters.
Setting Up the Nano Banana ComfyUI Workflow
Step 1 — Download the Workflow
Start by downloading the Nano Banana ComfyUI workflow and opening it in ComfyUI. Make sure ComfyUI is updated to the latest version. If there are any missing nodes after loading, use the ComfyUI Manager to install them, then restart ComfyUI.
Download Nano Banana Workflow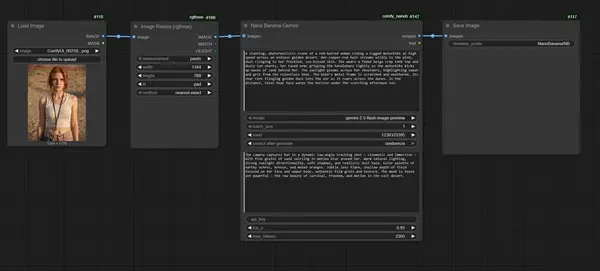
Step 2 — Get Your Nano Banana API Key
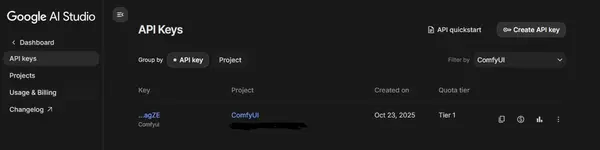
Nano Banana runs on Google Cloud via the Gemini API, so you'll need a Google AI Studio API key with billing enabled. The cost is approximately $0.04 per image — very affordable for the quality you get.
- Visit aistudio.google.com
- Go to Dashboard → API Keys → Create API Key.
- Copy your new API key.
- Set up billing in your Google account (required for Nano Banana).
- Paste your API key into the Nano Banana node in ComfyUI when prompted.
Generating Consistent Character Images
With the workflow open and your API key in place, you're ready to start generating. Here's how the generation process works:
1. Upload a Reference Image
Upload a reference image of your character into the image input node. This image becomes the identity anchor — Nano Banana will keep the core appearance of this character in every generation.
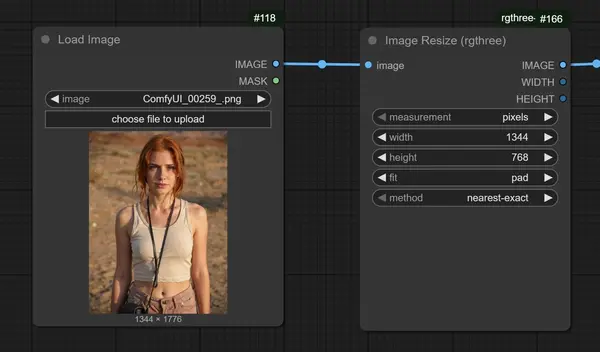
2. Configure the Model and Prompts
In the Nano Banana node, select the gemini-2.5-flash-image-preview model. You'll find two prompt fields:
- Prompt 1: Describe the character and scene — for example: "girl in red dress standing in a forest, cinematic lighting".
- Prompt 2: Specify camera angle or visual style — for example: "cinematic close-up, soft lighting, shallow depth of field".
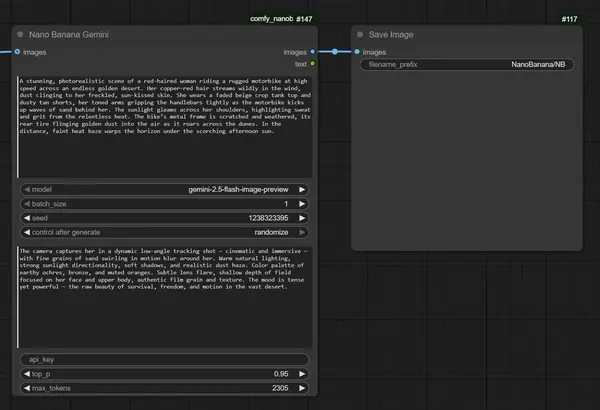
3. Run and Review Output
Once your prompts are ready, click Queue Prompt to run the workflow. You'll get a new, consistent image with your character's appearance preserved and the scene changed according to your prompt.
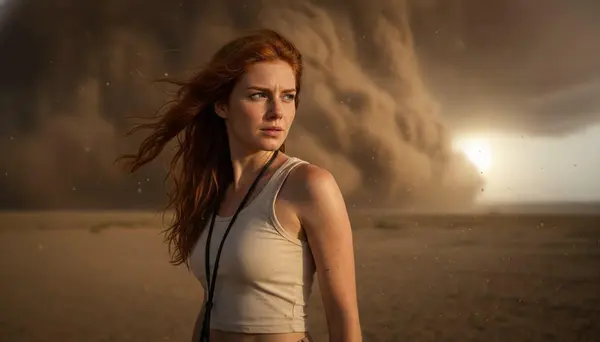
Editing and Refining Your Character
Nano Banana's editing mode lets you make targeted changes to any generated image using simple text instructions. Feed any output image back in as the new reference and describe what you want to change.
Edit 1 — Remove an Object
Use a prompt to remove an object or element from the image while keeping everything else consistent:
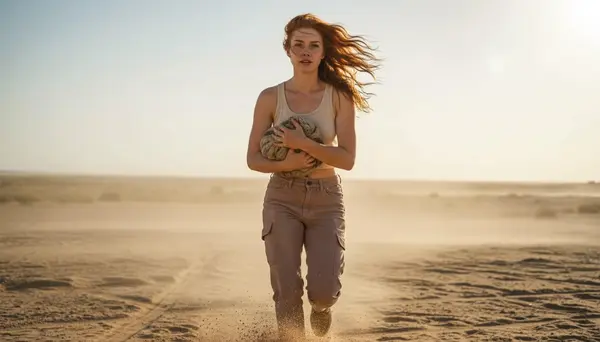
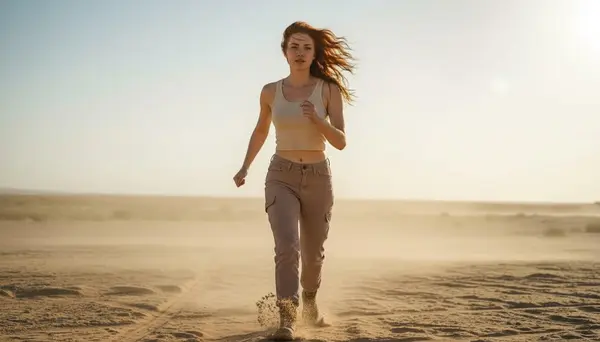
Prompt: "Remove the object from her hands and make her look like she's running naturally — a determined young woman running across a hot desert under the afternoon sun, arms moving freely, sand swirling around her boots, hair blowing in the wind, cinematic action shot."
Edit 2 — Change Gaze Direction
Adjust where the character is looking with a direct instruction:
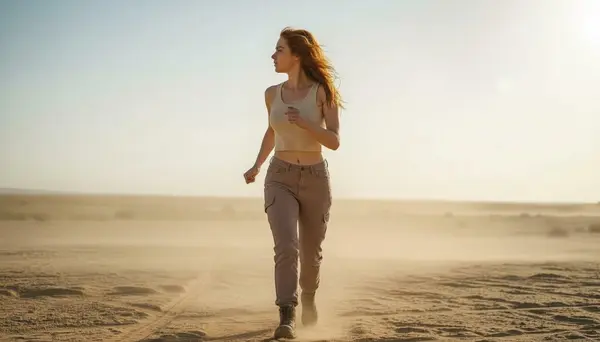
Prompt: "Make the girl look behind her and not toward the camera."
Edit 3 — Add a Background Element
Add new environmental elements to the scene without altering the character:
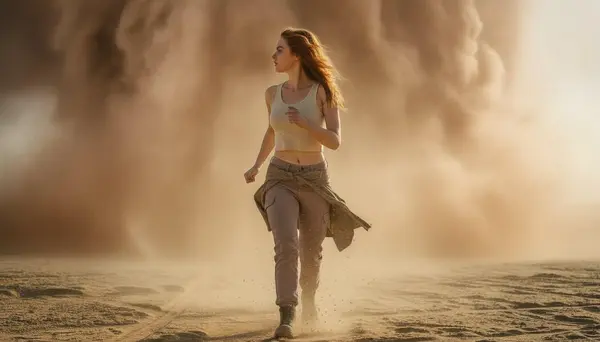
Prompt: "Make a massive sandstorm forming behind her — a red-haired woman running through the desert, looking back in fear, wind whipping her hair and clothes, sunlight dimmed by swirling sand, cinematic dramatic scene."
This iterative editing process is what makes Nano Banana powerful for character-based workflows — you can refine your character's look across many scenes, each building naturally on the last.
Using Multiple Reference Images
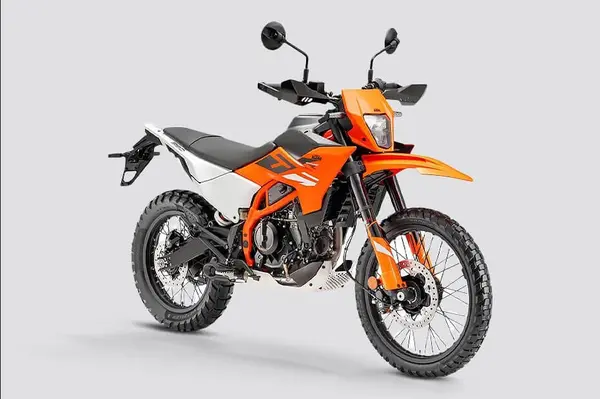
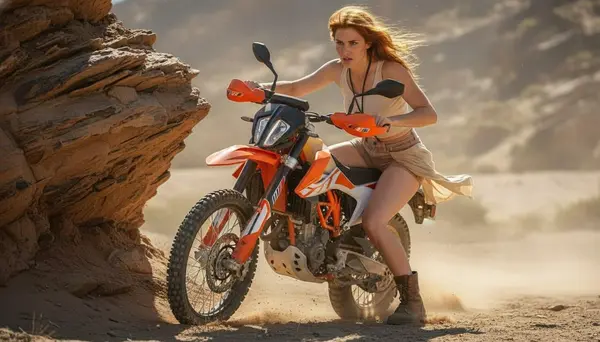
Nano Banana also lets you combine two or three reference images to generate a single new consistent image. Connect the Multi Image node to the Nano Banana node, enable both Image Input and Multi Image, then upload your reference images. The model will blend key features from all provided references.
For example: to show a girl riding a bike, use a reference image of the girl and a separate reference of the bike. With the right prompt, Nano Banana blends both into one consistent output.
Reference images
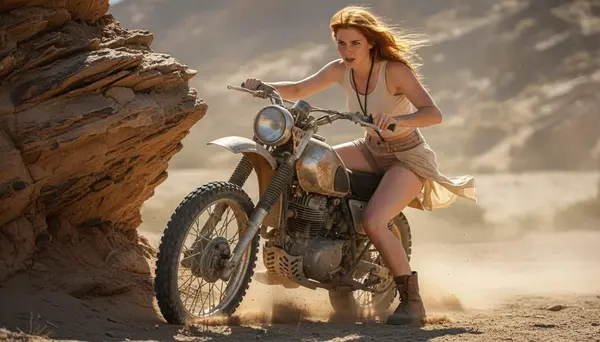
Output image
Creating Cinematic Videos with WAN 2.2
Once you've designed your consistent character images with Nano Banana, use the WAN 2.2 image-to-video workflow to animate them into smooth, cinematic videos. WAN 2.2 takes your static images and generates motion that matches your prompt.
Download WAN 2.2 Image-to-Video Workflow- Download and open the WAN 2.2 image-to-video workflow in ComfyUI.
- Install any missing models or nodes shown in the ComfyUI Manager.
- Upload your Nano Banana character images into the image input nodes.
- Set your output width, height, and frame count.
- Enter your motion prompt, then run the workflow.
Images used for video
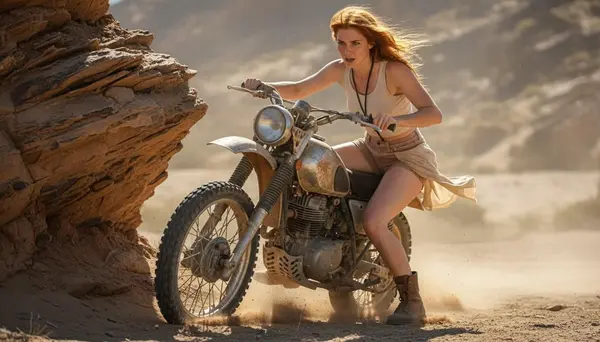
Generated video
Prompt: "Make a massive sandstorm forming behind her — a red-haired woman running through the desert, looking back in fear, wind whipping her hair and clothes, sunlight dimmed by swirling sand, cinematic dramatic scene."
First and Last Frame Connection (WAN 2.2 FALI Workflow)
To create smooth, seamless transitions between video clips, use the FALI workflow (First And Last Image). This workflow takes the first frame of one video and the last frame of another, then generates smooth in-between motion — making your final cut look continuous and cinematic.
Download WAN 2.2 FALI (Connection) WorkflowFirst and last frame images

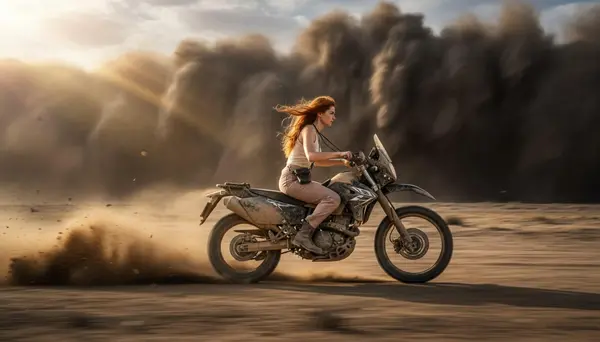
Generated connection video
Conclusion
The Nano Banana ComfyUI workflow is a simple, powerful way to create and iterate on AI-generated consistent characters. Whether you're building a character for a comic, a social media series, or a full cinematic video, the combination of Nano Banana for image consistency and WAN 2.2 for animation gives you a complete creation pipeline inside ComfyUI.
- One reference image is enough to anchor consistent character identity across unlimited generations.
- Editing is targeted and iterative — each prompt change builds on the last without losing character features.
- Multi-reference blending lets you add props, vehicles, or environments while keeping character consistency.
- WAN 2.2 + FALI turns your static character frames into smooth, seamless cinematic clips.
Frequently Asked Questions
Join the discussion
Sign in to leave a comment or reply
No comments yet
Be the first to share your thoughts!