
⚡ Quick Answer
You don't need a photoshoot to build a LoRA dataset. Use your own photos when you have 15 or more of the subject, stock or web images for a style LoRA, and AI-generated reference images — through a chat tool like ChatGPT, Google's Nano Banana, or a ComfyUI character-consistency workflow — when you only have one or two photos to start from. Most real datasets end up mixing two of these methods.
Most LoRA training guides jump straight into settings and assume you already have a folder of images ready to go. The real question that stops people before they get there is simpler: where do those images actually come from? This guide covers the four practical ways to build a LoRA dataset— your own photos, stock or web images, AI-generated reference variations, and ComfyUI's own character-consistency workflows — so you know exactly which one fits your situation before you collect a single image.
What You Need Before You Start
You're gathering images here, not training anything yet, so there's no special hardware required. Depending on which method below fits your situation, you'll need one of the following:
- Your own photos — any phone camera works
- A free stock photo account, or just a browser for Google Images
- A free ChatGPT account, or a paid Google Gemini subscription (for its "Nano Banana" image model) for reference-image generation
- ComfyUI already installed, if you want the local character-consistency workflow method — see the ComfyUI installation guide if you haven't set it up yet
Which Method Should You Use?
Start here. Match your situation to a method below, then jump to that section — you don't need to read every method if only one applies to you.
| Your Situation | Best Method |
|---|---|
| You already have 15+ real photos of the subject | Use your own photos |
| You’re training a style, not a specific subject | Stock or web images |
| You have 1–3 photos of a person or character | AI-generated reference images |
| You have zero photos, only a concept or description | AI-generated + ComfyUI consistency workflow |
How to Use Your Own Photos for a Character or Product LoRA
If you're training a LoRA on a real person, your own pet, or a physical product, your own photos are almost always the strongest starting point — they're already the exact subject, with no risk of an AI tool drifting away from the real appearance.
Check your phone's camera roll first. Most people already have more usable photos than they think, scattered across old events, casual snapshots, and product listings. If you're short on real photos and can take new ones, try to capture several angles and lighting setups in one sitting rather than repeating the same shot.
Where to Find Stock or Web Images for a Style LoRA
A style LoRA is different from a character LoRA — instead of one consistent subject, you need many different subjects that all share the same visual look. This is where stock and web images work well, since you're not trying to keep one identity consistent across the set.
Free stock sites like Unsplash and Pexels are a good starting point for realistic styles, since their photos are high resolution and licensed for broad reuse. Google Image Search can widen your search further when you need a specific look that stock sites don't cover, but the results come with mixed and often unclear licenses.
How to Generate a Full Image Set From One Reference Photo Using AI
This is the method to use when you only have one or two photos of your subject — a single clear reference photo can be turned into a full set of pose, angle, and background variations using an AI chat tool, without needing any new real photos at all.
ChatGPT can do this for free: upload one clear reference photo, then ask it to generate the same subject in a different pose, outfit, or background while keeping the face the same. Google's Gemini app, using its "Nano Banana" image model, does the same job as a paid option, and many people find it holds the identity slightly more consistently across generations — see the full Nano Banana workflow guide for the complete setup and prompting approach.
- Upload your one clear reference photo to the chat tool. This becomes the identity anchor every later generation is compared against.
- Ask for one specific change at a time — a new pose, a new background, or a new outfit — rather than describing a whole new scene from scratch. Small, specific changes hold the face steady better than big ones.
- Save each result before generating the next one. This keeps a record of every variation and lets you go back to your original reference if a later generation starts drifting.
- Repeat for different angles: front-facing, side profile, and three-quarter view, plus a mix of close-up and full-body shots.
- Review the full set before moving on — check that the face still matches your original reference photo in every image, not just the first few.
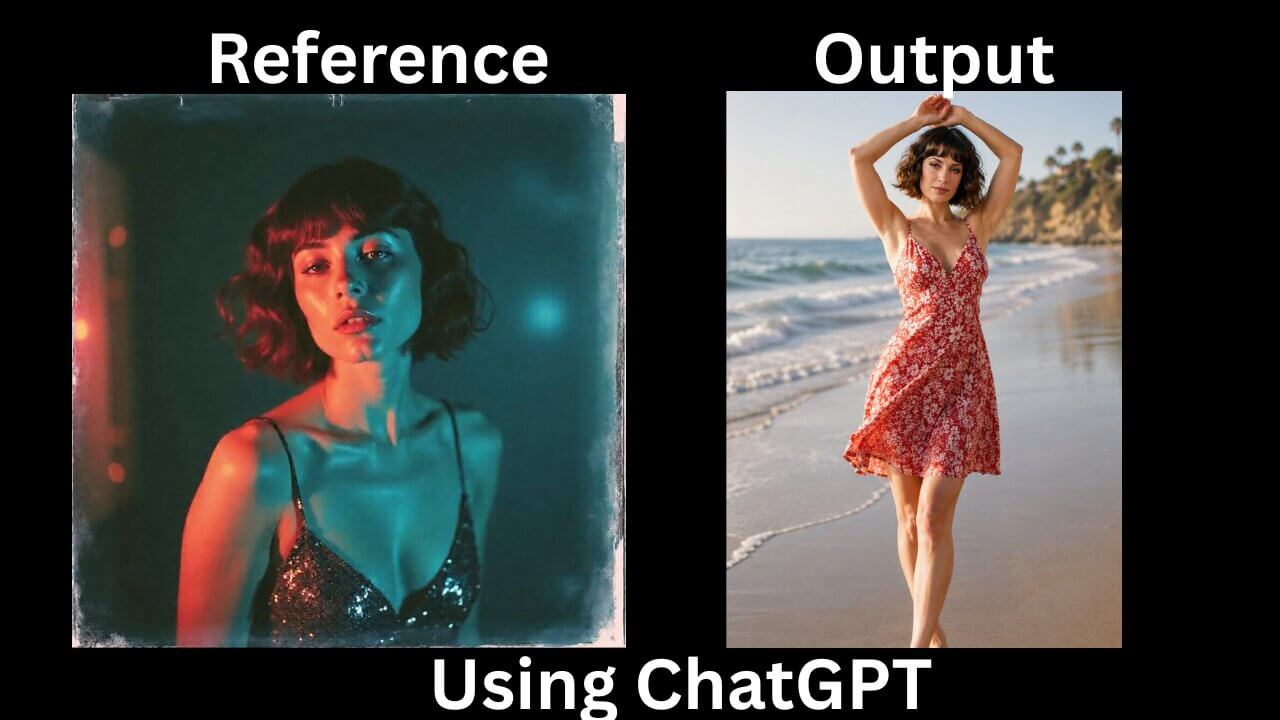
Fix Inconsistent AI Characters: A Ready-to-Use 20+ Copy-Paste ChatGPT Prompt Sheet
The method above works, but writing a new prompt from scratch for every pose is slow, and it's easy to accidentally change the wording enough that the face drifts. This section gives you a ready-made prompt sheet built around one consistent character, so you can copy a prompt, paste it into ChatGPT, and move straight to the next one.
Every prompt below assumes you've already generated (or uploaded) one anchor photo and are re-using it as the reference for each new image — the same rule covered in the identity-drift section further down.
Step 1: Generate Your Anchor Photo
Paste this into ChatGPT first. This is the one photo every other prompt on this page builds from — save it once it's generated.
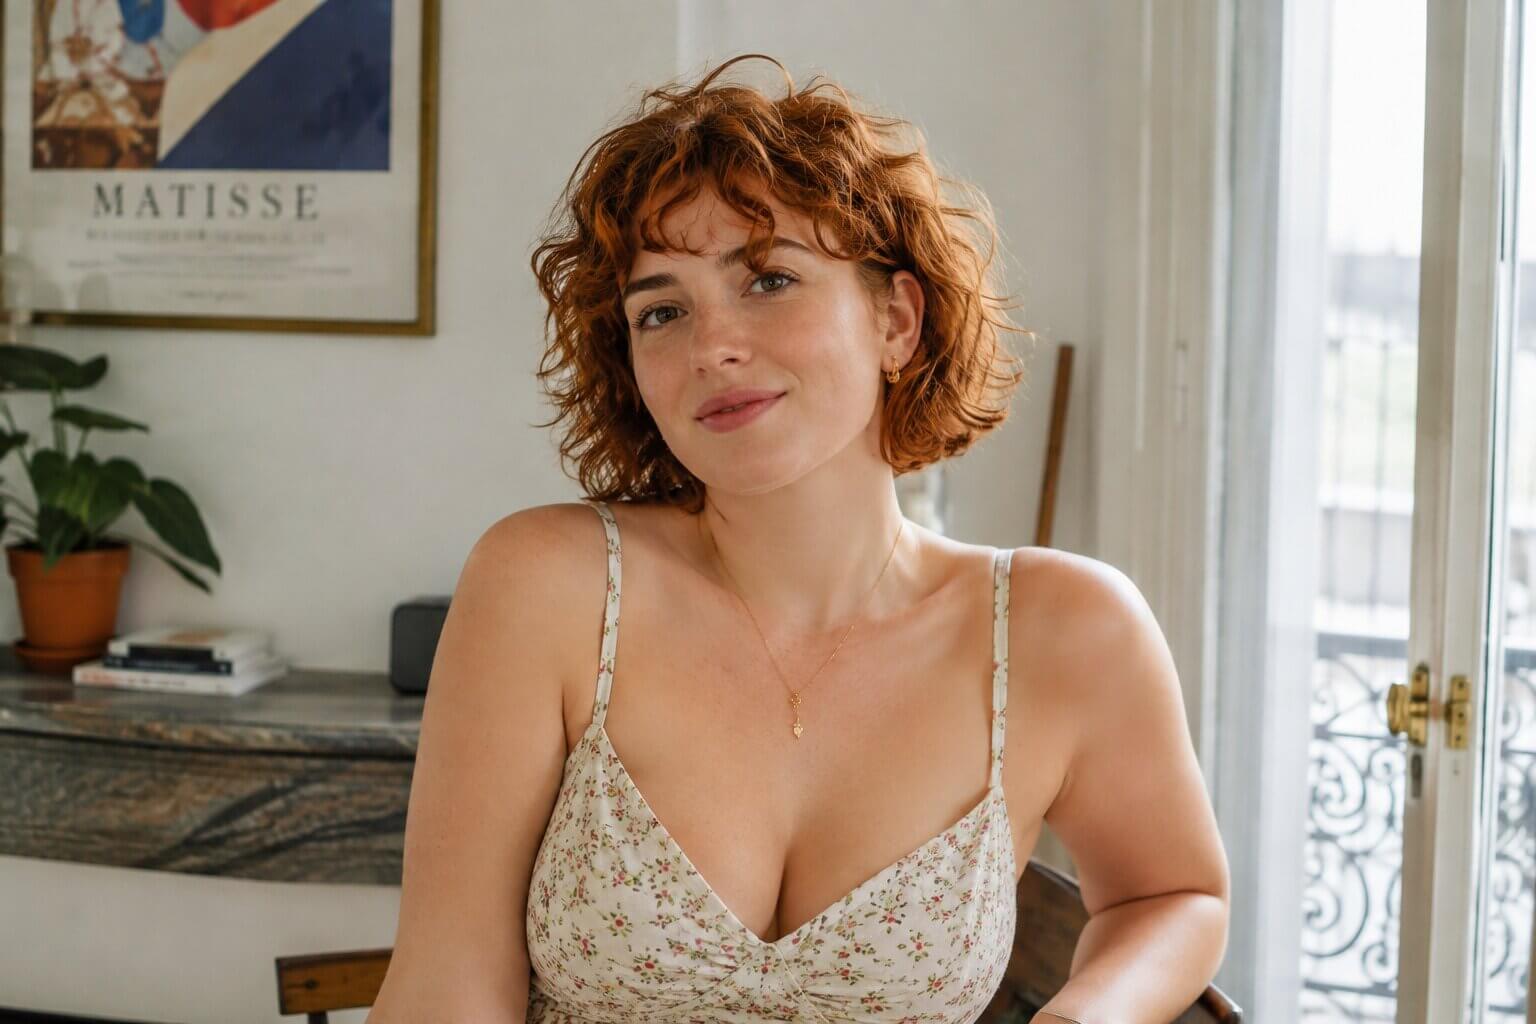
Anchor prompt
Generate a photorealistic image of a young French woman in her mid-20s, with fair skin and short, curly red hair. Give her a healthy, curvy body type — not skinny, not athletic, somewhere between average and fuller-figured. Frame the shot from the waist up, not too close, in landscape orientation, with natural lighting and a simple background. This becomes your anchor photo. Save it, and re-upload it as a reference for every prompt below instead of generating from a previous AI output.
Step 2: Generate Style & Scene Variations
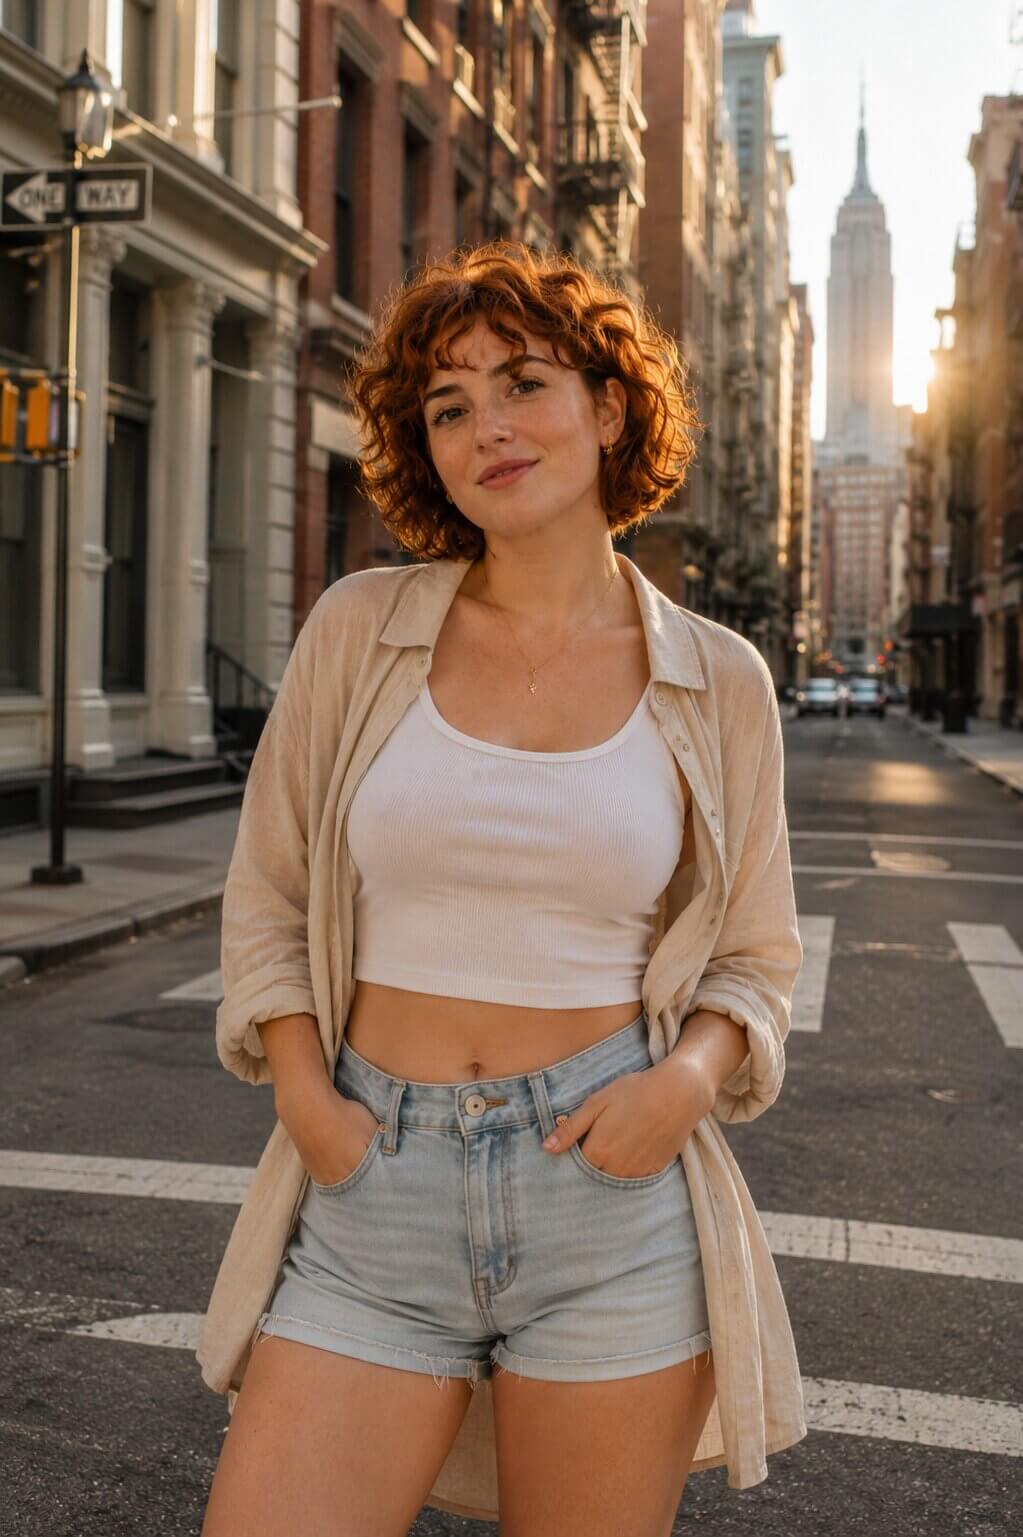
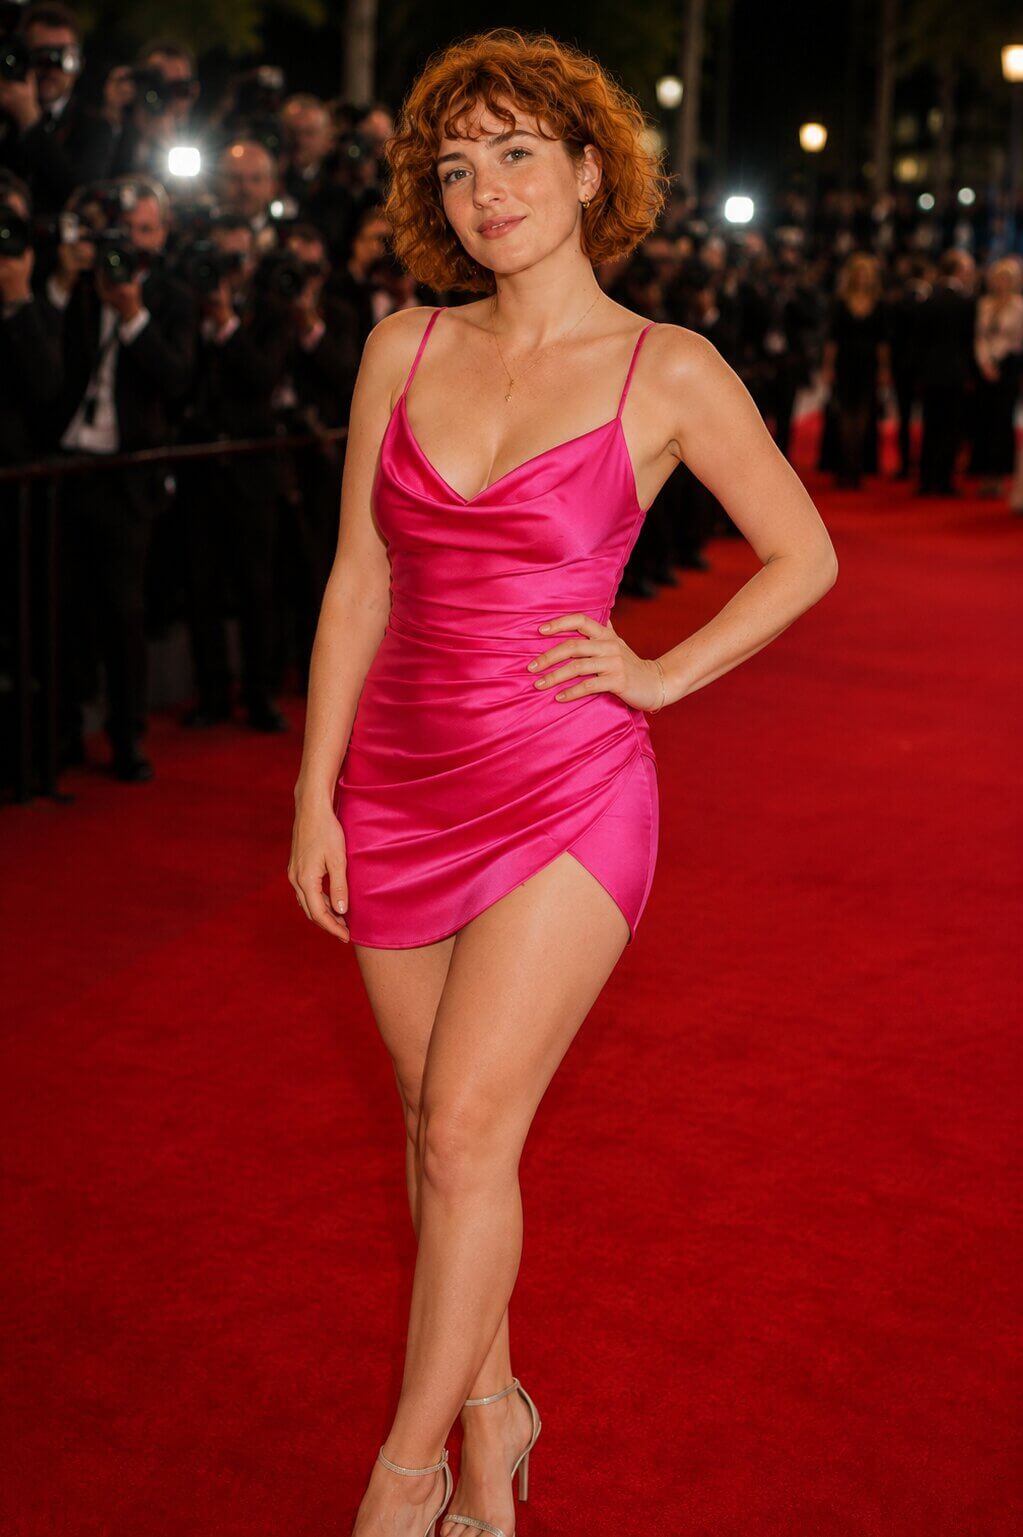
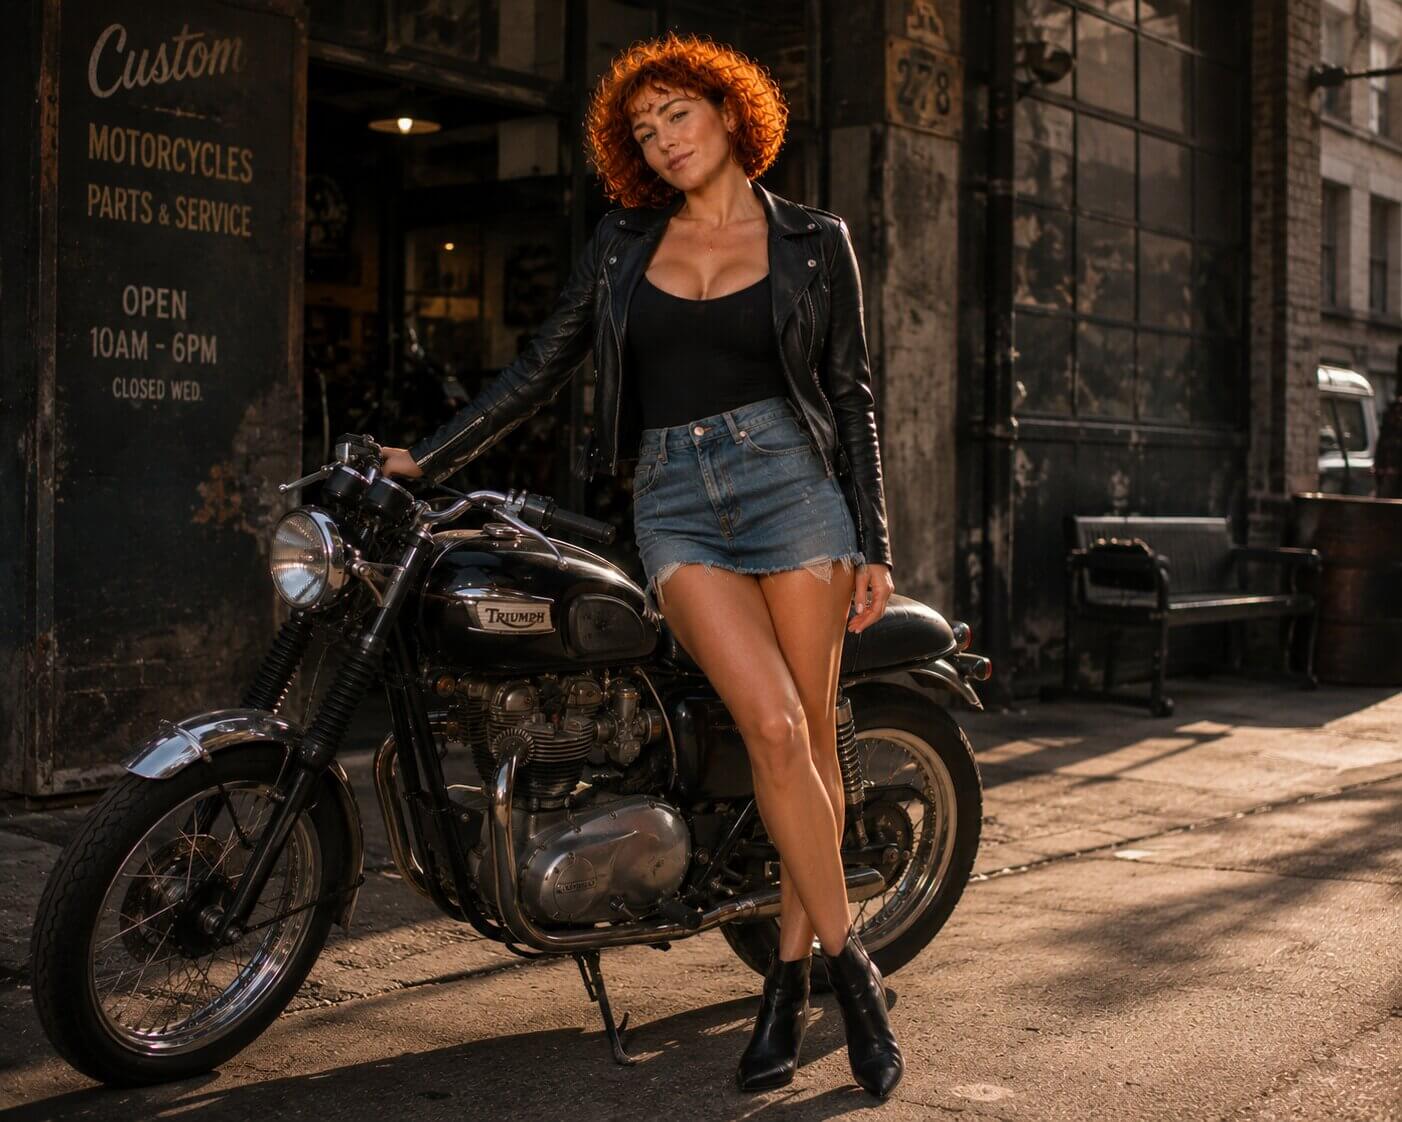
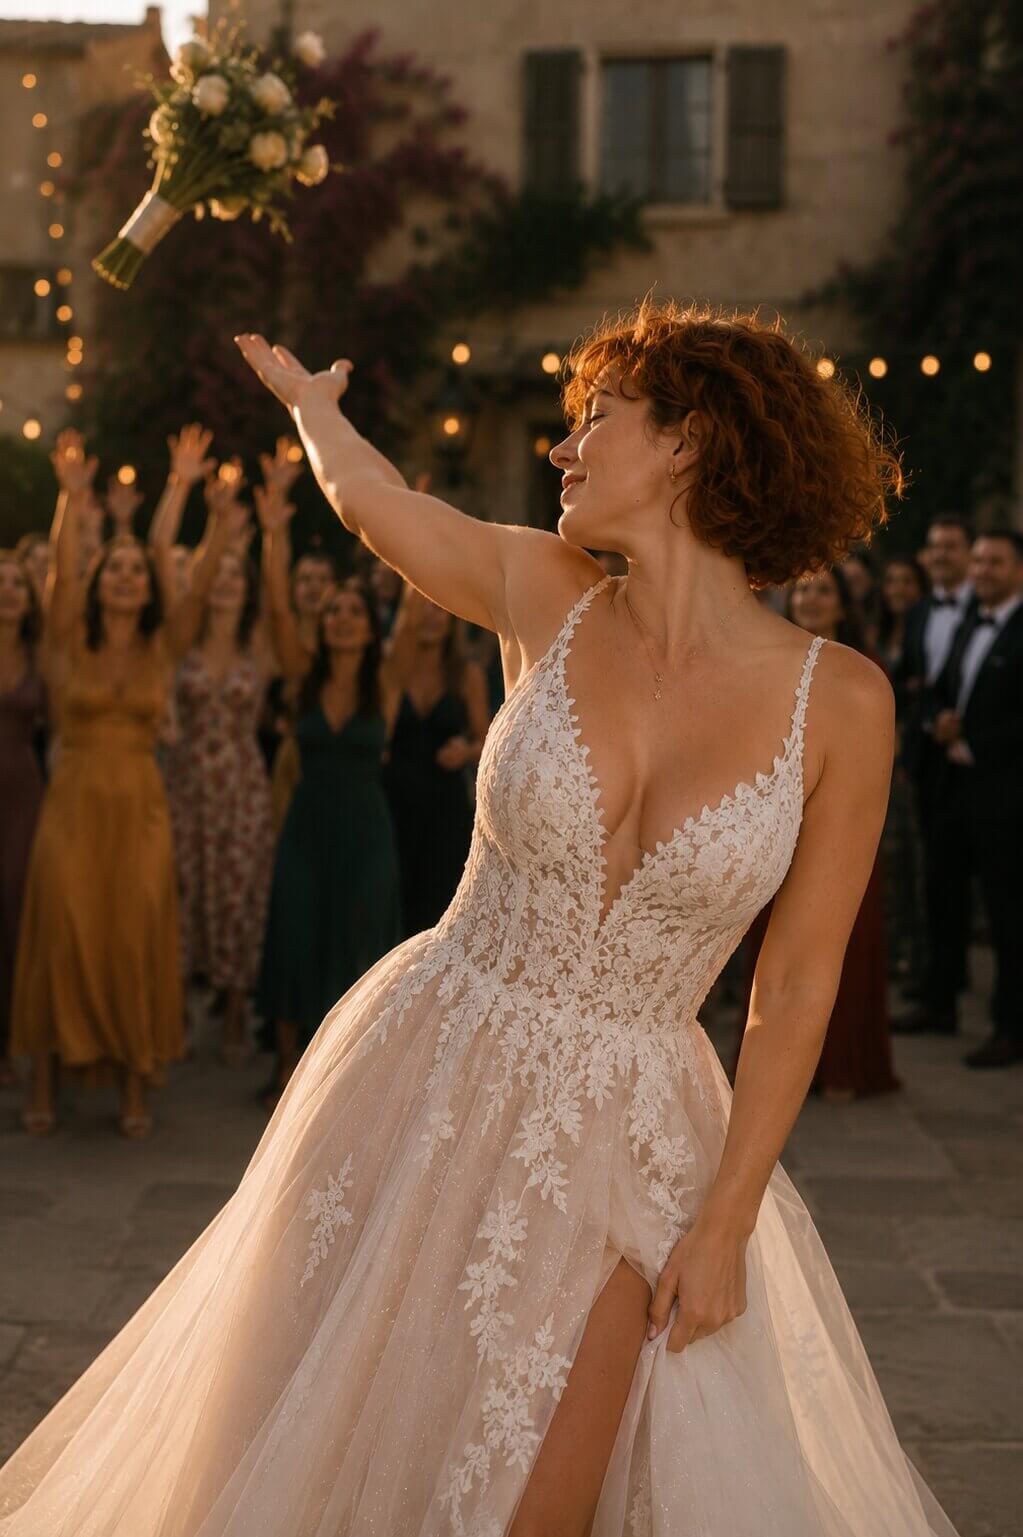
Each group below covers a different setting. Expand a group, hit "Copy all," and paste the whole batch into ChatGPT — it'll work through the numbered prompts one at a time.
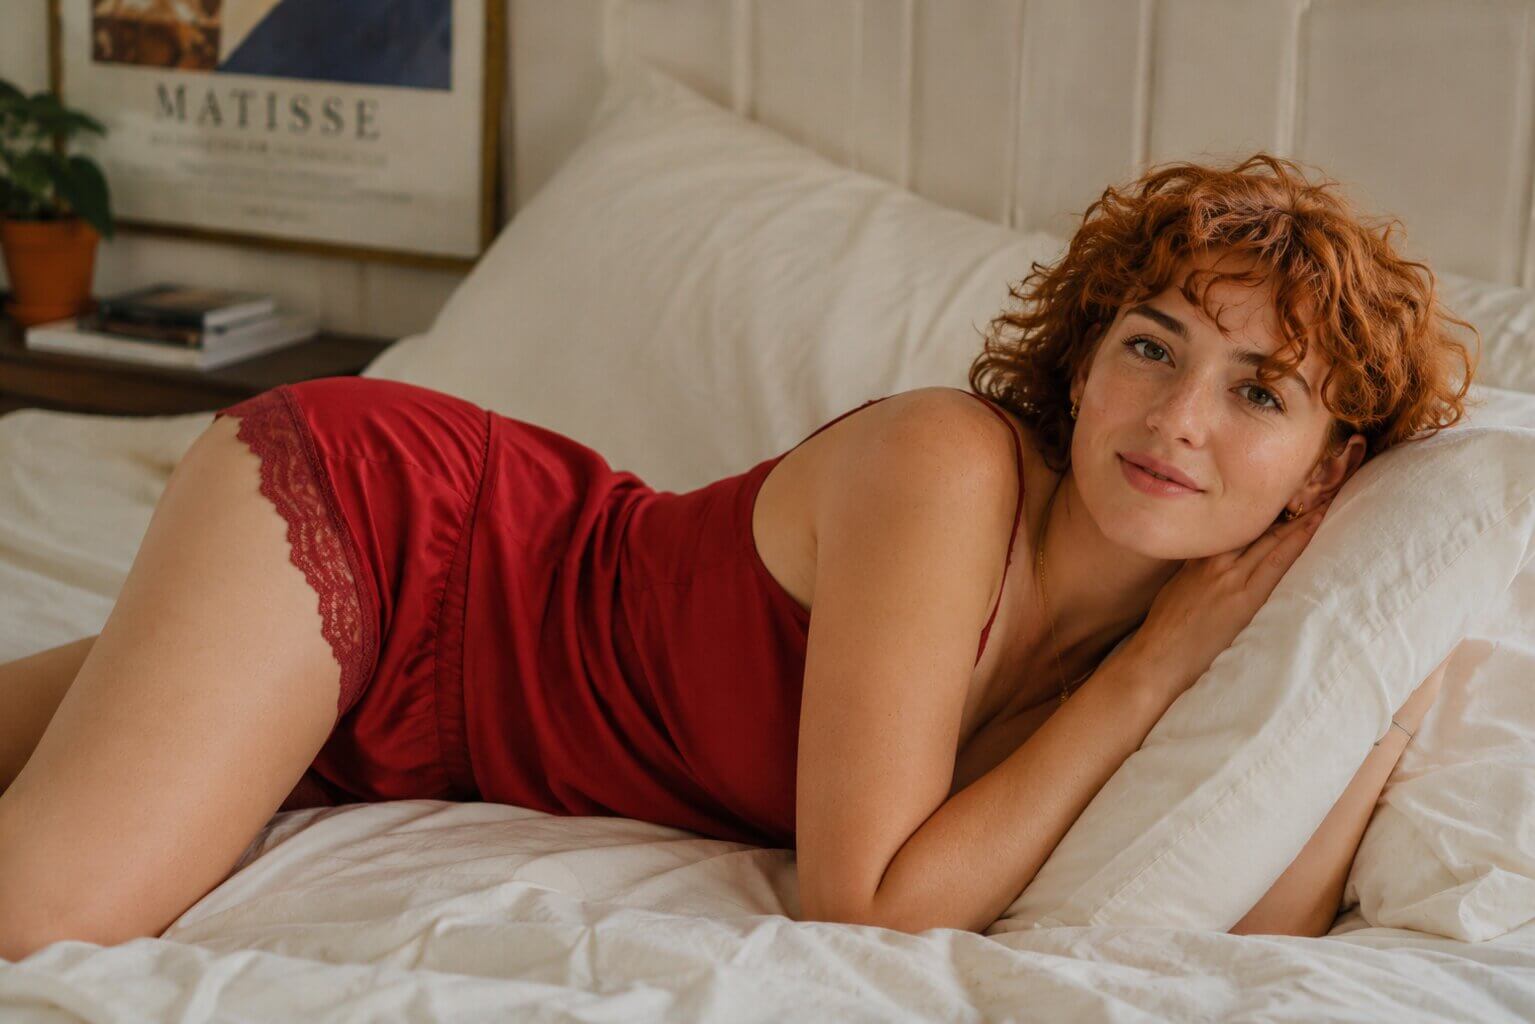
Step 3: Generate Structured Outfit & Background Sets
These prompts spell out the outfit, pose, background, and shot type separately — useful once you want tighter control over a specific look, like a fashion-editorial or travel-style set.
Download a Free Sample LoRA Dataset (No ChatGPT Needed)
Don't want to generate the images yourself? This sample dataset was built using the exact prompts above, so you can see what a finished set looks like, or drop it straight into a LoRA trainer to see how the training process works before building your own.
📦 Free Sample LoRA Dataset
A ready-made set of AI-generated images built from the prompts above, so you can see exactly what a finished training dataset looks like — or use it to test your first LoRA training run without generating anything yourself.
⬇ Download Sample Dataset (.zip, 55 MB)How to Generate Character-Consistent Training Images With ComfyUI
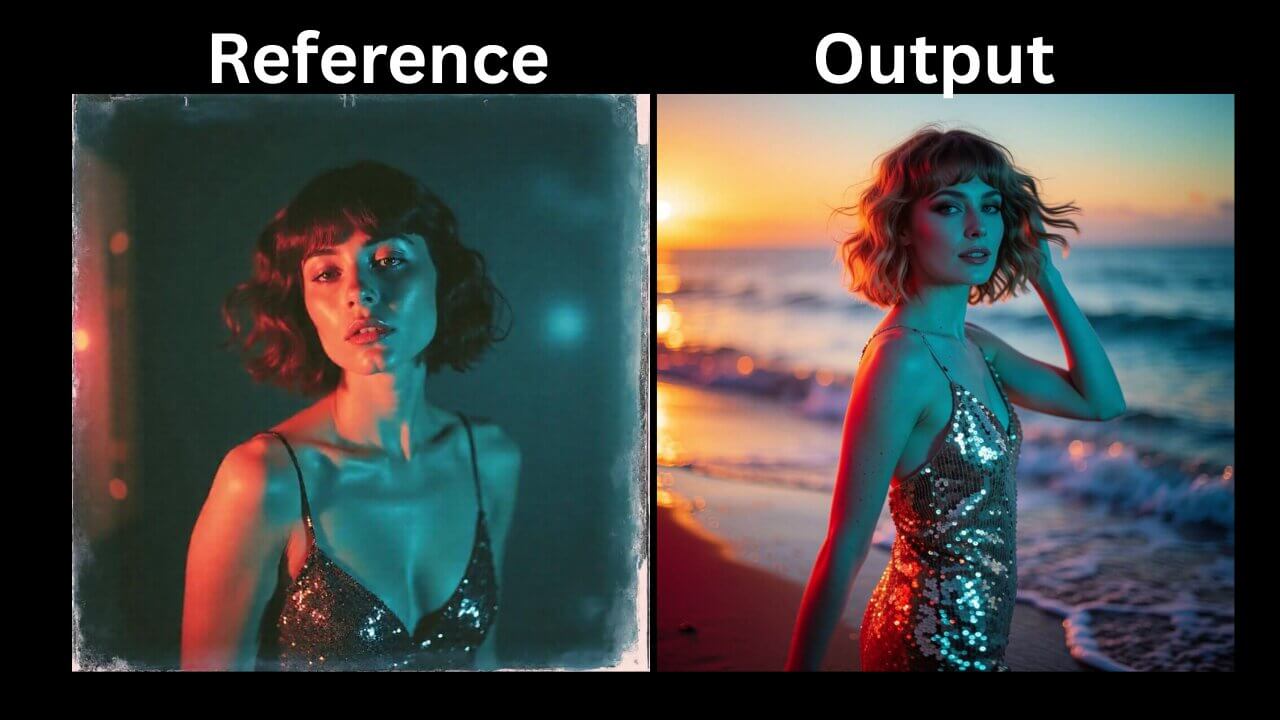
A chat tool works well to get started, but it charges per generation (in the case of Gemini) or slows down under heavy use (in the case of free ChatGPT). If you're building datasets regularly, a ComfyUI character-consistency workflow— a node-based setup that generates variations of a reference image locally on your own GPU — is a free, faster alternative once it's set up.
Earngenix already has full setup guides for four of these workflows, each suited to a slightly different job:
- Character consistency in ComfyUI — the general-purpose starting point for keeping a character consistent across generations
- Nano Banana in ComfyUI — run Google's Nano Banana model locally in ComfyUI instead of paying per generation in the Gemini app
- Krea 2 character consistency workflow — best when you want strong pose variety while keeping the face steady
- Flux Kontext character consistency workflow — best for editing a character directly into new outfits or settings
- SCAIL-2 character replacement workflow — best for dropping your reference character into entirely new backgrounds and scenes
Should You Combine Methods for One Dataset?
Yes — this is the most common real-world setup, not an edge case. A typical mix is 5–10 real photos to anchor the actual identity, plus 10–15 AI-generated variations to fill in angles, poses, or settings the real photos don't cover.
Common Mistakes When Sourcing a LoRA Dataset
My AI-generated images look like a different person after a few tries
What causes it: Identity drift — generating a new image from a previous AI generation instead of your original reference photo, so small errors compound with each step.
How to fix it: Go back to your original reference photo for every new generation, and keep the number of variations per reference to around 8–15 before the drift becomes noticeable.
My stock images don't match in style or lighting
What causes it: Pulling images from multiple stock sites or search results without checking that they share a consistent color grade, lighting style, or overall look.
How to fix it: Review your full set side by side before finalizing it, and remove any image that stands out sharply in tone or lighting from the rest.
I'm not sure if I'm allowed to use the images I found
What causes it: Collecting images from Google Image Search or unclear sources without checking the license attached to them.
How to fix it: Stick to stock sites with a clear license (Unsplash, Pexels) for anything beyond personal or experimental use, and check the source page directly if you're unsure.
Frequently Asked Questions
What to Do Next
Once your images are collected, check them against the dataset quality checklist before you train.
Resolution, blur, variety, and what makes an image usable are all covered in the follow-up guide.
Published: 2026-08-17 · Last updated: 2026-08-19
Join the discussion
Sign in to leave a comment or reply
No comments yet
Be the first to share your thoughts!