
⚡ Quick Answer
ComfyUI can save a workflow two ways: as a small .json file, or hidden inside images ComfyUI generates. To load either one back in, drag the file onto the ComfyUI window or press Ctrl+O. To share it, send the JSON file or the original image — never a screenshot.
If you've spent an hour arranging nodes into something that finally works, closing ComfyUI without saving means starting over. This guide covers how to save and load a ComfyUI workflowusing three different methods, how to send a workflow to someone else so it actually opens on their computer, and what to do when a workflow won't load at all.
Hardware and versions used for this guide: ComfyUI [your version], tested on [your OS]. None of the steps below use your GPU, so they work the same regardless of your hardware.
What Do You Need Before You Start?
You don't need anything extra for this guide. You only need:
- ComfyUI installed and running. If you haven't installed it yet, follow Install ComfyUI on Windows first.
- One workflow open in ComfyUI to practice with. The default workflow works fine, or follow the basic text-to-image workflow to build a simple one.
- A few minutes — none of the three methods below take long.
What Is a ComfyUI Workflow File (and What's Inside a Workflow JSON)?
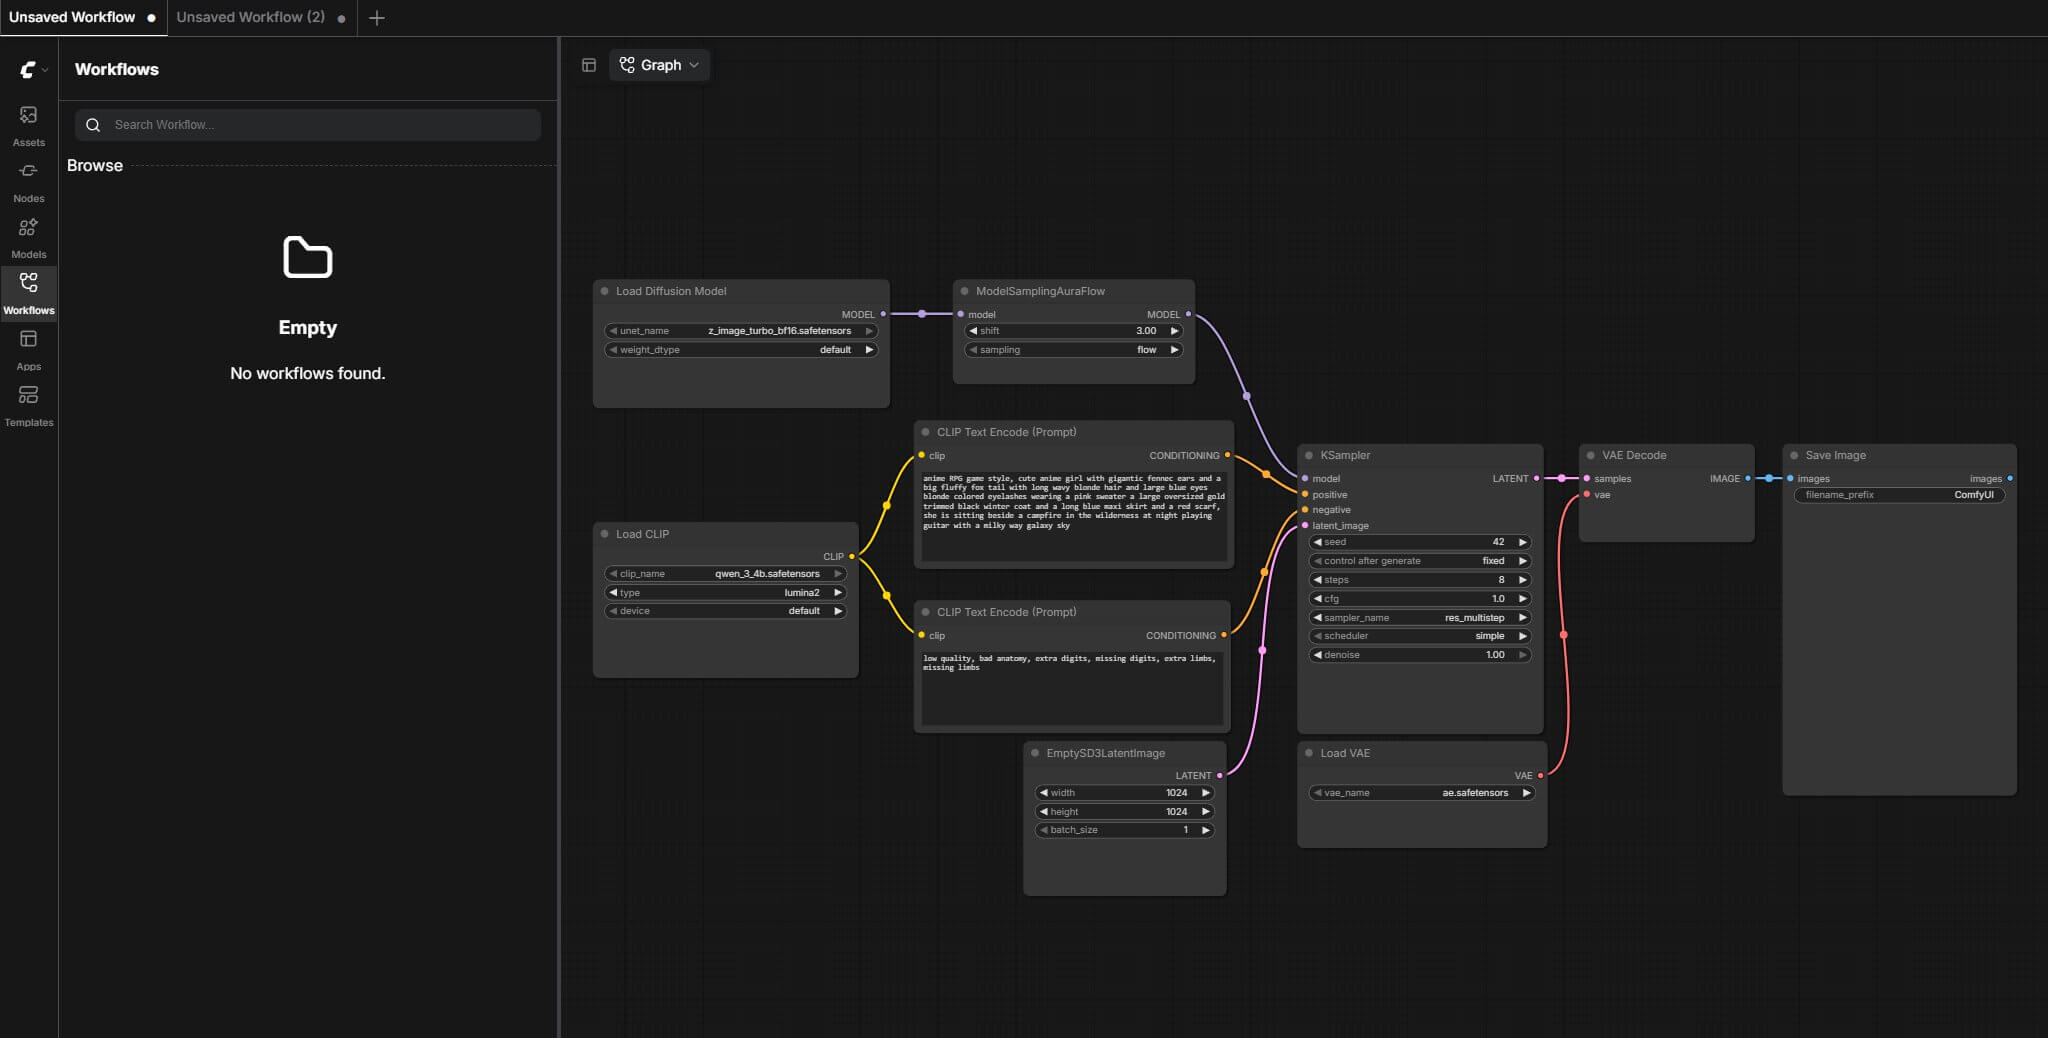
A node(a rectangular block that does one job, like loading a model or running a sampler) is the basic building block in ComfyUI. A workflow is simply all of your nodes, how they're connected to each other with wires, and every setting you've typed in — saved together as one file.
Behind the scenes, that file is written in a format called JSON, which is just plain text arranged in a structured way. You never need to read or edit this text yourself — ComfyUI writes it and reads it for you. The only thing worth knowing is that this file is small (usually a few kilobytes), which is why it's easy to save, email, or post online.
There are three ways to get a workflow back into ComfyUI, and each one is useful in a different situation:
| Method | Best For |
|---|---|
.json file | Saving your own work to reload later, or sharing the exact node layout |
Image with a hidden workflow | Recovering a workflow from a picture you already generated |
Drag and drop | The fastest way to load either a JSON file or an image, with no menus |
Way 1: How Do You Save and Load a ComfyUI Workflow as a JSON File?
This is the most reliable way to save a workflow, because it saves the entire layout — every node, every wire, every setting — with nothing left out.
How to Save a Workflow in ComfyUI (Save vs Save As)
- Open the File menu in the top-left corner of the ComfyUI window (on some versions this is labeled Workflow — look for the same icon if the name is different).
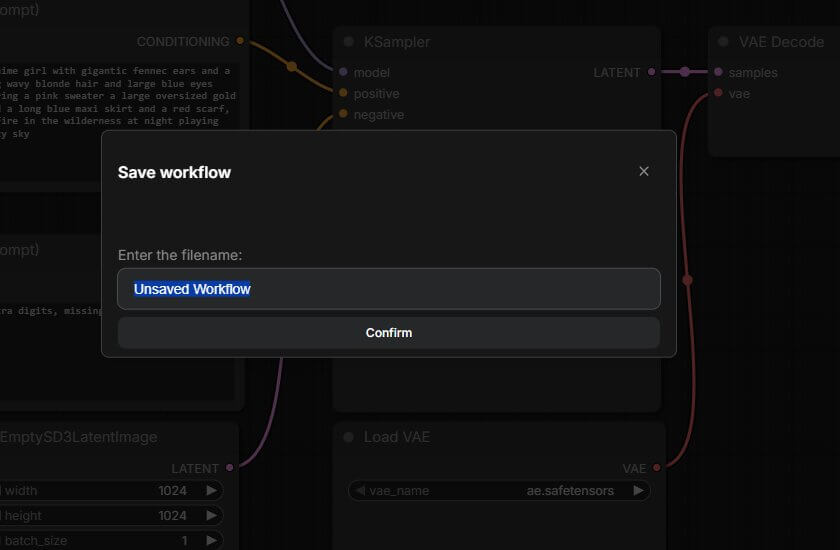
- Click Save if you're updating a workflow you've already named, or Save As if this is the first time, or if you want a new copy under a different name.
- If you clicked Save As, a box appears asking for a name. Type something you'll recognize later, like "my-first-character-workflow," then click Save or press Enter.
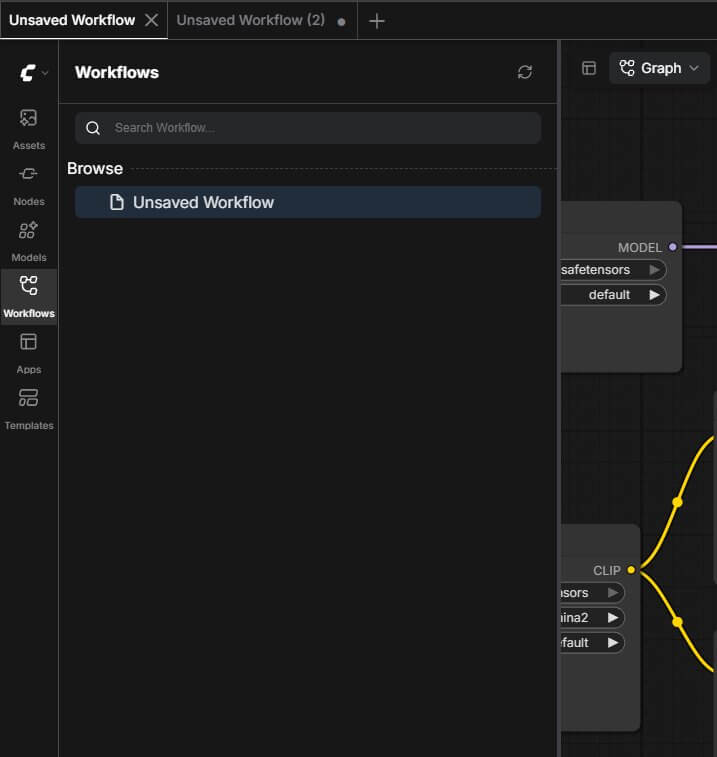
- You should see the workflow's name appear at the top of the screen, and it will also show up in the Workflows sidebar on the left side of ComfyUI.
Why this matters:ComfyUI doesn't save your work automatically. If you close the browser tab or restart your computer without saving, everything you built is gone.
ComfyUI\user\default\workflows. If you can't find your saved file, check that folder first — confirm it matches your own install type.Keyboard shortcut: You can also save with Ctrl+S on Windows or Cmd+S on a Mac. On some browsers, Ctrl+S opens a browser "save this webpage" box instead — if that happens, use the File → Save menu option instead, which always works.
How Do You Load a Saved Workflow (Ctrl+O)?
- Open the File menu.
- Click Open, or press Ctrl+O on Windows (Cmd+O on a Mac).
- A file browser window appears. Find your saved
.jsonfile and double-click it. - Your screen should redraw immediately, showing all the nodes and wires exactly as you left them, with your settings filled back in.
Save vs Export vs Export (API): Which One Should You Click?
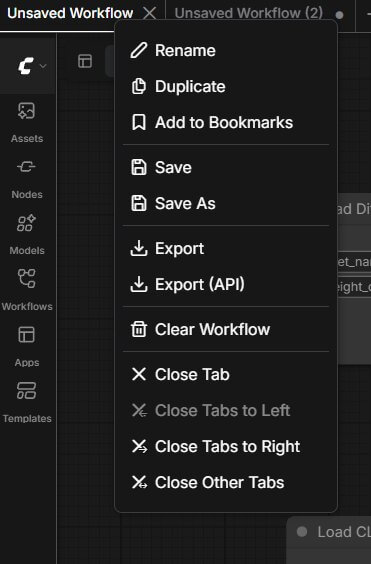
The Filemenu has more than one saving option, and it's easy to click the wrong one:
- Save and Save As create a normal workflow file. This is what you want almost every time — it includes your full layout, node positions, and colors, and it reopens perfectly in ComfyUI.
- Export creates a very similar file to Save, meant for downloading a copy outside the app.
- Export (API) creates a different kind of file. It strips out the layout information (node positions, colors, and groups) and replaces node names with numbers, because it's built for developers who run ComfyUI through code instead of the visual interface.
How to Share the JSON File
Once you've saved a workflow as a normal .json file (not the API version), you can attach that file to an email, a Discord message, or a forum post exactly like any other file. The person receiving it uses the Open steps above to load it on their own computer. There's one catch to sharing this way — see How Do You Share a Workflow So It Opens on Someone Else's Computer? below before you send it.
Way 2: How Do You Load a ComfyUI Workflow From an Image?
Here's something a lot of beginners don't realize: when ComfyUI generates an image using its own built-in save nodes, it can hide the entire workflow inside that image file. This means any image ComfyUI creates can also work as a workflow file.
- Build or load any workflow, then click the orange Queue Prompt button (on some versions labeled Run) in the top-right corner of the screen.
- A progress bar appears underneath the button while the image generates. This usually takes 15–60 seconds, depending on your GPU and the workflow's settings.
- Once it finishes, the image appears in ComfyUI's preview area and is also saved to your output folder on your computer.
- To load the workflow back from that image later, drag the image file from your file manager onto the ComfyUI browser window.
- Your screen should redraw with the exact nodes and settings that created that image — even if you never separately saved a JSON file for it.
Why this works: ComfyUI writes the full workflow into the image file's hidden metadata (information stored inside the file but not visible when you look at the picture). Every image you generate in ComfyUI is automatically a backup of the workflow that made it.
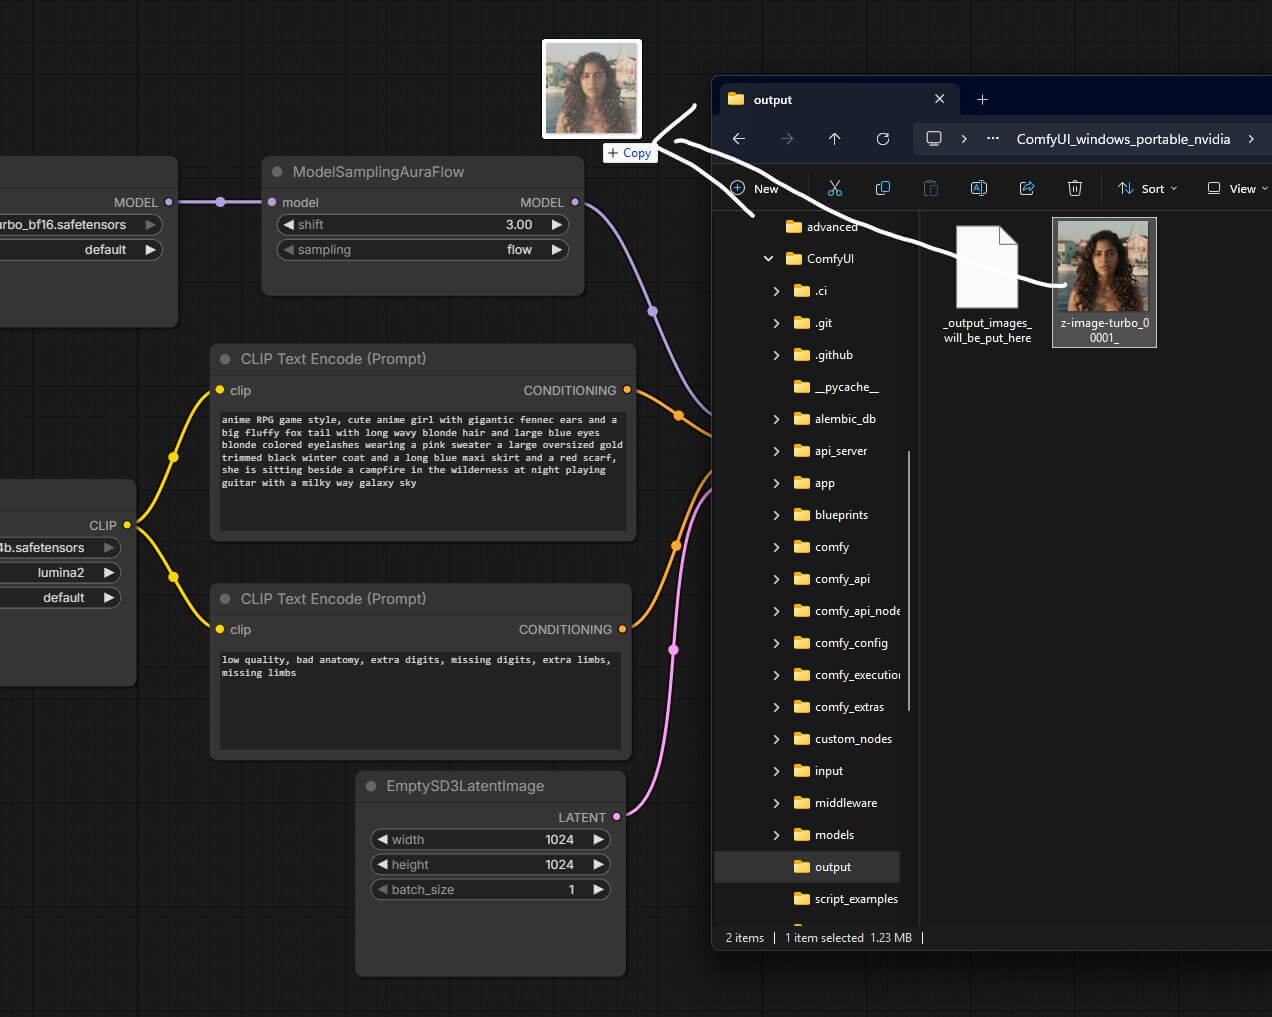
Way 3: How Do You Drag and Drop a Workflow Into ComfyUI to Import It?
Drag and drop is the fastest of the three methods, because it skips the menus entirely — and it works for both file types covered above.
- Open your file manager (File Explorer on Windows, Finder on a Mac) and find either a
.jsonworkflow file or an image that ComfyUI generated. - Click and hold on the file, then drag it over to your browser window where ComfyUI is open, and release.
- ComfyUI should immediately load the workflow, redrawing the canvas with all the nodes from that file.
How to Import a Workflow From the Menu Instead
If you'd rather not drag files around, you can do the same thing through the menu:
- Open the File menu.
- Click Open, or use the Ctrl+O shortcut.
- Select your
.jsonfile or a ComfyUI-generated image from the file browser.
Both routes end up in the same place — pick whichever feels easier.
Once saving and loading feels automatic, the next habit worth building is keeping ComfyUI itself current without losing any of these files — see how to update ComfyUI safely.
Why Won't My ComfyUI Workflow Load? (3 Common Errors)
Running into something else? Our general ComfyUI troubleshooting guide covers errors that show up across every workflow, not just loading.
"Unable to find workflow in [filename].png"
This error means ComfyUI looked inside the image file for hidden workflow data and didn't find any. It has a few possible causes:
- The image was re-encoded or compressed after ComfyUI created it — by a messaging app, an editing tool, or a website that resizes uploads. This strips the hidden data out completely, with no way to recover it afterward.
- Metadata saving was turned off in ComfyUI itself, either through a setting called Disable saving prompt metadata in files, or a startup option. If this was on when the image was made, it never had the data to begin with.
- The image wasn't made by ComfyUI at all — for example, a picture downloaded from a website that only looks similar.
- You dragged the image from a web page instead of a downloaded file. Dragging directly from a site can grab a version that's already had its metadata stripped, even though the same file works fine once properly downloaded first.
How to fix it: Download the image to your computer first (don't drag straight from a browser tab), then try dragging that downloaded copy in. If it still doesn't work, the metadata was likely stripped before you received the file — you'll need the original .json file instead.
Nodes Are Red After Loading a Workflow
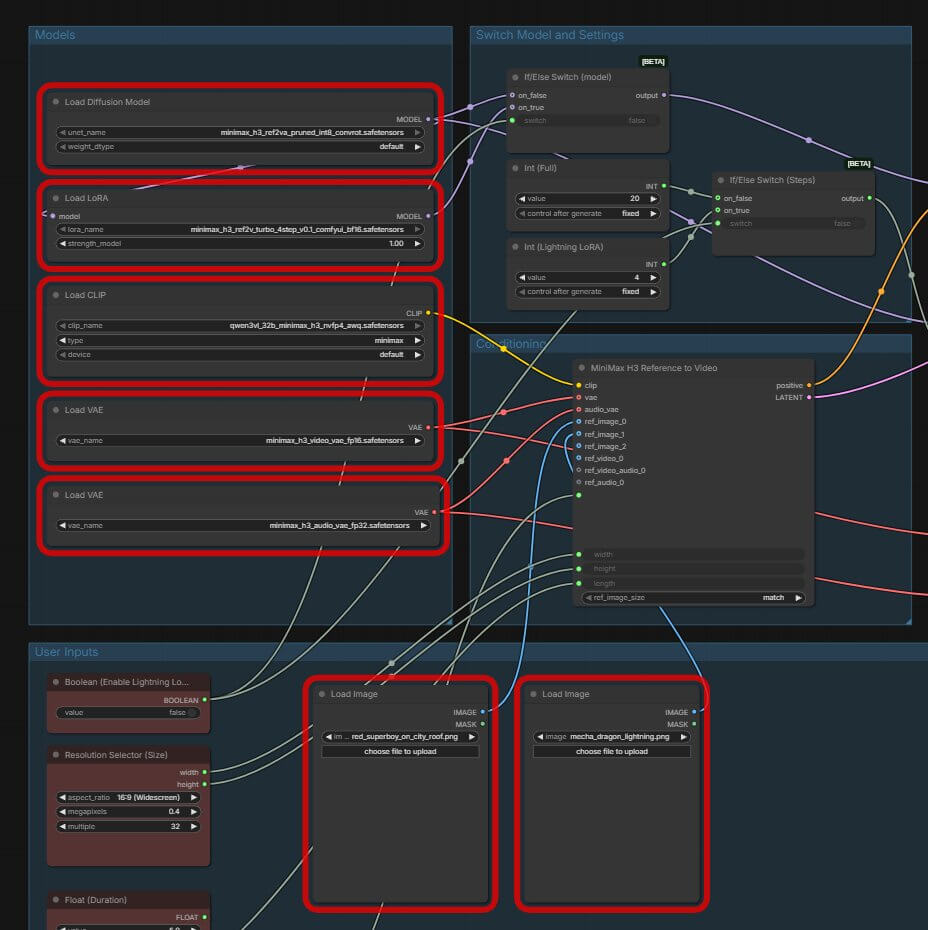
If your workflow loads but some nodes appear with a red outline, ComfyUI is telling you it can't find one or more custom nodes that workflow needs. This usually happens when you load a workflow someone else built, or when an older workflow file was made with extensions your version doesn't have.
How to fix it:
- Note the name of each red node.
- Open ComfyUI Manager and use its missing-node installer, or follow the full steps in Install Missing Nodes in ComfyUI.
- Restart ComfyUI after installing, then reload the workflow.
Ctrl+S Opens a Browser "Save Page" Box Instead of Saving Your Workflow
On some browsers, pressing Ctrl+S gets intercepted by the browser itself instead of reaching ComfyUI, and you'll see your browser's own "save this webpage" dialog pop up instead of your workflow saving.
How to fix it: Close that dialog, then use the File → Save menu option instead. It saves your workflow correctly every time, regardless of what your keyboard shortcut does.
Frequently Asked Questions
What to Do Next
Keep ComfyUI updated without losing your saved workflows.
Now that your workflows won't disappear on you, the next thing worth learning is how to update ComfyUI itself safely — including what to check first so an update doesn't turn your saved workflows red.
What to Read Next
If you're just getting started, the basic text-to-image workflow is the natural place to practice saving and loading. Ran into red nodes above? Go straight to Install Missing Nodes in ComfyUI. And if you want to explore ComfyUI's newer sharing tools, see ComfyUI 2026 Updates & New Features.
— Written as a personal recommendation from the Earngenix team.
Published: 2026-09-29 · Last updated: 2026-09-29 · Steps verified against a current ComfyUI install.
Join the discussion
Sign in to leave a comment or reply
No comments yet
Be the first to share your thoughts!