
Quick Answer
Yes, ComfyUI is harder to learn than Fooocus or Automatic1111 — it drops you into a blank node canvas instead of a settings panel. But the difficulty is front-loaded: most people generate their first image within 30 minutes following a tutorial, feel comfortable modifying an existing workflow within a few hours of total use, and can build their own basic workflow from scratch within about a week of regular practice.
Is ComfyUI hard to learn? Ask anyone who's opened it for the first time and you'll get the same answer: yes, at least for the first session. There's no prompt box, no "Generate" button in sight — just a blank canvas and a handful of connected blocks with names like "KSampler" and "VAE Decode" that mean nothing yet.
This guide breaks down exactly why ComfyUI feels hard, how long each stage of learning actually takes based on watching new users go through it, and what to do so you're not learning by trial and error like most people before you.

Why ComfyUI Feels Hard, Specifically
"Hard" isn't a fair word on its own — ComfyUI isn't badly designed, it's just built around a concept most people have never used before. Here's exactly what makes the first session difficult, one reason at a time.
It's node-based, and you've probably never used a tool like that
A node is a small block that does one job — the Load Checkpoint node loads your AI model file, the CLIP Text Encode node reads your prompt, the KSampler node generates the image. You connect these blocks with wires to build a workflow. Almost every other app you've used — Photoshop, a phone camera app, even Fooocus — hides this process behind a form. ComfyUI shows it to you directly, which means you're learning the underlying process, not just clicking a button.
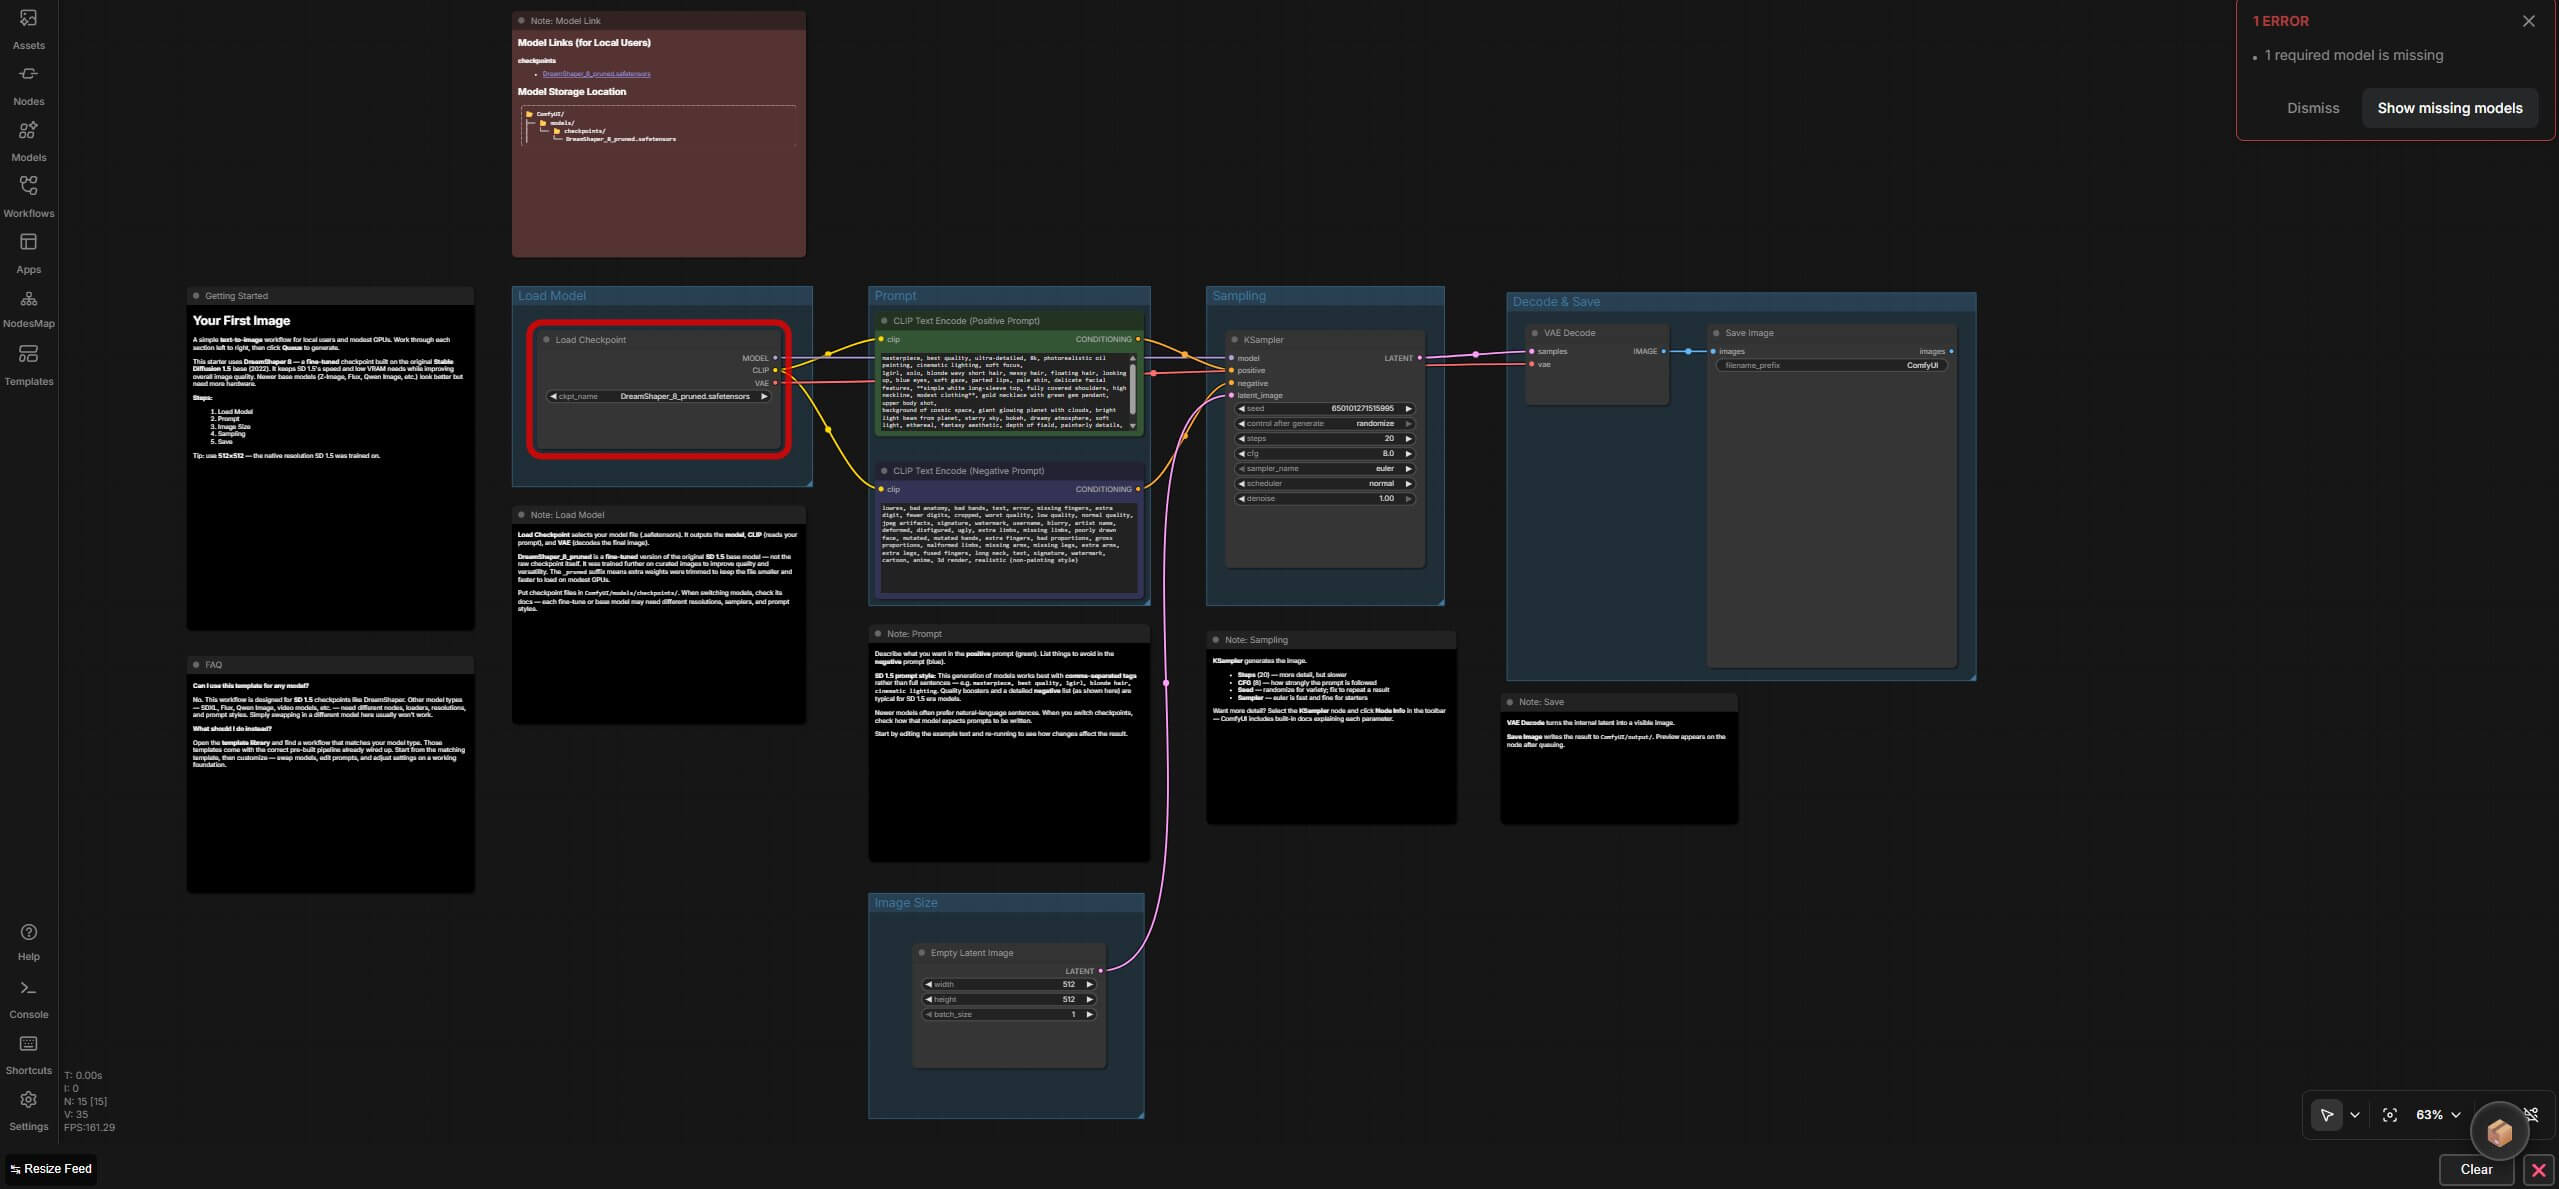
The wires ("spaghetti") look more overwhelming than they are
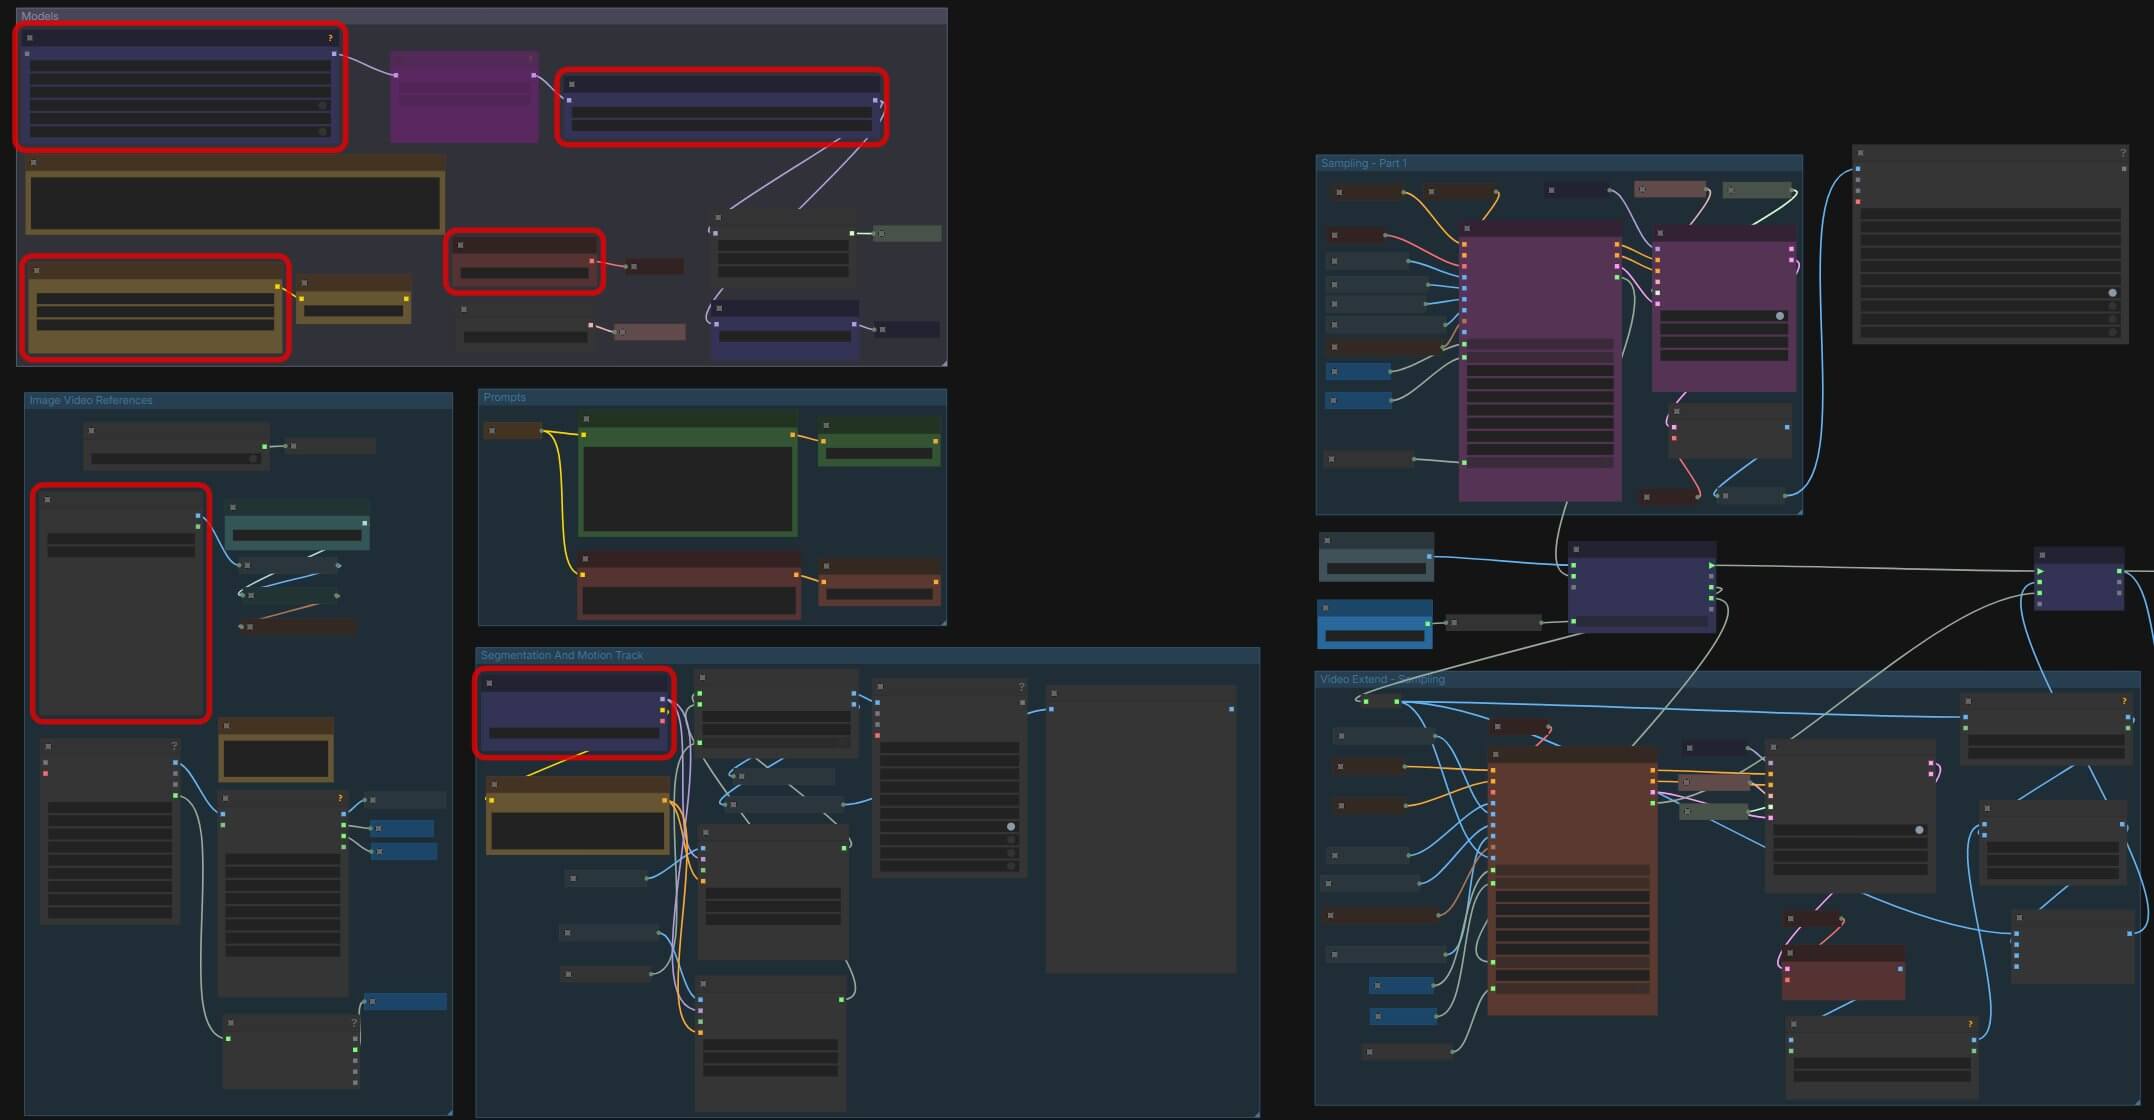
Every connection between two nodes is drawn as a curved line. On a default workflow that's five or six lines; on a downloaded workflow with 40 nodes, it can look like a plate of spaghetti. The visual noise is real, but it doesn't reflect the actual difficulty — you can hide the wires entirely from the View menu once you know each node's job.
Downloaded workflows can throw errors you don't understand yet
If your first ComfyUI experience is downloading someone else's workflow instead of starting from the default one, you'll likely hit a red "missing node" error immediately — the workflow uses a custom node you don't have installed. This is normal and easy to fix once you know where to look, but it's a common reason beginners give up in the first ten minutes.
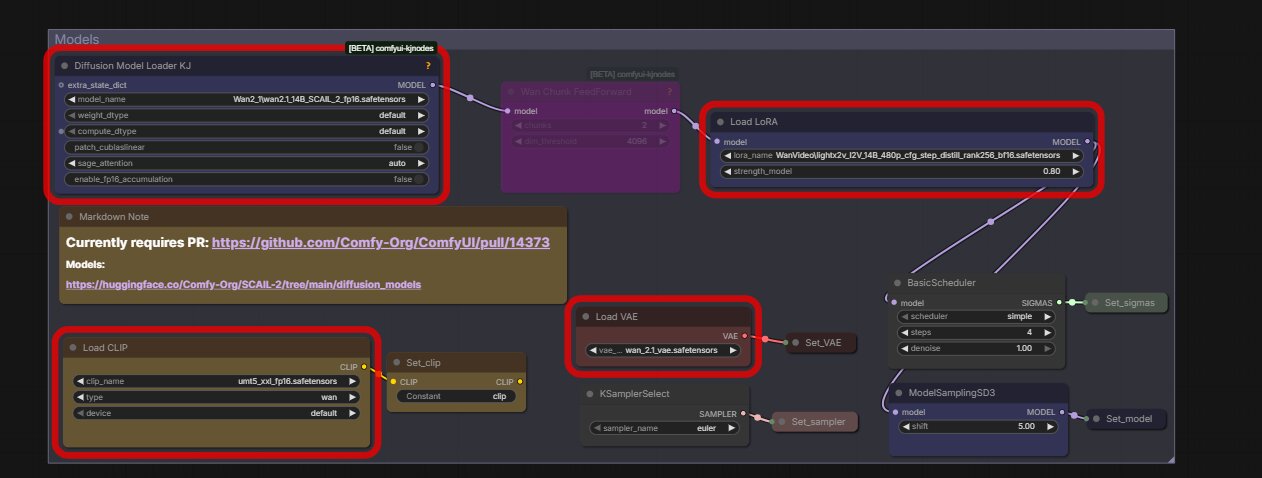
The documentation is scattered, not sequential
There's no single official "start here, then here" path. Good information exists across the ComfyUI GitHub wiki, Reddit, Discord, and YouTube — but a beginner has to piece it together themselves, which adds friction that has nothing to do with the tool itself. We cover how to skip that problem near the end of this article.
How Long Does It Actually Take to Learn ComfyUI?
These are real-world estimates from watching new users go through ComfyUI Desktop — the official app, which is how most beginners install it now — on an RTX 4060, the kind of GPU most beginners are actually using rather than a high-end card. Your timeline will vary, but the shape holds for almost everyone.
15–30 minutes
Your first generated image
Following a step-by-step tutorial with the default workflow already loaded — no custom nodes, no downloaded workflow.
2–4 hours total
Comfortable modifying an existing workflow
Swapping the model, changing the prompt, adjusting steps and CFG without feeling lost.
~1 week of regular use
Building your own basic workflow from scratch
Connecting the core nodes yourself for a simple text-to-image or image-to-image setup.
3–4 weeks
Confident with LoRA, ControlNet, multi-step pipelines
Comfortable stacking a LoRA, adding pose or depth control, and chaining a base model into an upscaler.
Notice what this timeline actually says: the hardest part is the first session, not the whole process. Every stage after "your first image" gets faster, because you're reusing concepts you already understand instead of learning something completely new.
What Makes ComfyUI "Click" for Most Beginners
There's a specific moment where ComfyUI stops feeling foreign, and it's almost always the same one: realizing it's a settings panel that's been taken apart and laid out on a table, not a completely different kind of software.
Every option you'd see in a tool like Fooocus — which model to use, what your prompt is, how many steps to run, which sampler to use — still exists in ComfyUI. It's just that each one lives inside its own node instead of being stacked into one menu. Once you can point at the KSampler node and say "that's just the generate button's settings, spread out," the rest of the canvas stops looking like a foreign language.
A basic text-to-image workflow only ever uses seven nodes: Load Checkpoint, two CLIP Text Encode nodes (one for what you want, one for what to avoid), Empty Latent Image, KSampler, VAE Decode, and Save Image. Everything else — LoRA, ControlNet, upscaling — is additional nodes inserted into that same seven-node path, not a new system to learn from scratch.
Is ComfyUI Worth the Learning Curve, or Should You Start Easier?
If the only thing you want is a finished image with no setup, the honest answer is: start with Fooocus instead. It gets you there in minutes with nothing to learn, and there's no shame in that being the right tool for your goal.
ComfyUI's learning curve pays off specifically when you want things Fooocus can't do — new AI models supported on release day, video generation, multi-step pipelines, or workflows you can save and share as a single file. For the full breakdown of what each tool does better, see our ComfyUI vs Fooocus comparison — or if you want to see every local option side by side, including Forge and InvokeAI, check the full list of local AI tools.
- Want a good image today with zero setup? Start with Fooocus.
- Want new models like Flux or LTX-2 the day they release? ComfyUI wins.
- Want to save and share your exact process as one file? ComfyUI wins.
- Want video generation, not just images? ComfyUI is close to the only real option.
A Structured Path, So You're Not Learning by Trial and Error
Most people who quit ComfyUI in the first week made one of two mistakes: they started from a complex downloaded workflow instead of the default one, or they installed a pile of custom nodes before understanding the seven core nodes covered above. Both are avoidable with a sequence instead of guesswork.
We built a free, four-level roadmap that takes you from a fresh install through to training your own models and automating workflows with the API — each level links directly to the tutorials that cover it.
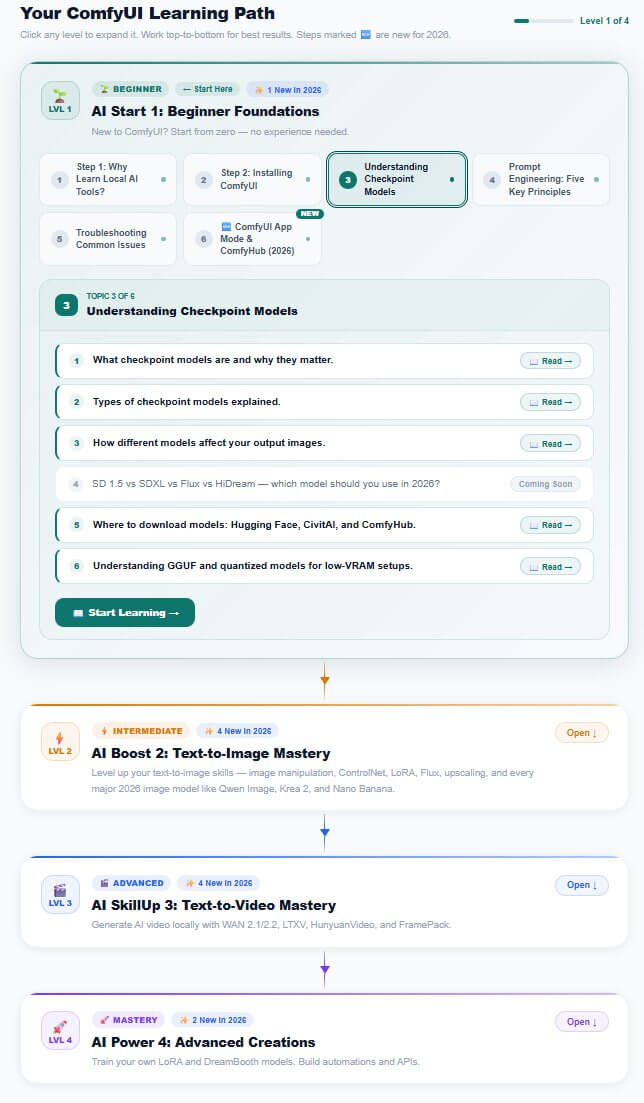
Beginner Foundations
BeginnerInstall ComfyUI, learn the interface, run your first text-to-image workflow, and understand checkpoint models.
Text-to-Image Mastery
IntermediateLoRA, ControlNet, upscaling, Flux, and character consistency — building real control over your images.
Text-to-Video Mastery
AdvancedLocal AI video with LTX-2, Wan 2.2, and HunyuanVideo — animation, speaking avatars, and 3D generation.
Advanced Creations
MasteryTrain your own LoRA and DreamBooth models, then automate workflows through the ComfyUI API.
Start Here
See the full roadmap, level by level
Every tutorial you need, in the order that actually makes sense — from your first install to training your own models.
Frequently Asked Questions
What to Do Next
Install ComfyUI Desktop and follow Level 1 of the roadmap in order — it's free, and it's the single biggest thing that separates a smooth first week from a frustrating one.
Join the discussion
Sign in to leave a comment or reply
No comments yet
Be the first to share your thoughts!